Installing Ring Plug-In Adapter (2nd Generation)
The Ring Plug-In Adapter (2nd Generation) is designed to power your Ring video doorbell or Ring Alarm Outdoor Siren. It is not compatible with Peephole Cam or Video Doorbell Elite.
View or download the user manual for Plug-In Adapter (2nd Gen).Installing your doorbell with a Plug-In Adapter
Step 1: Choose a socket
Select a power outlet near the door where you plan to install your Ring video doorbell. Don't plug the power adapter in yet.
Step 2: Run the cable
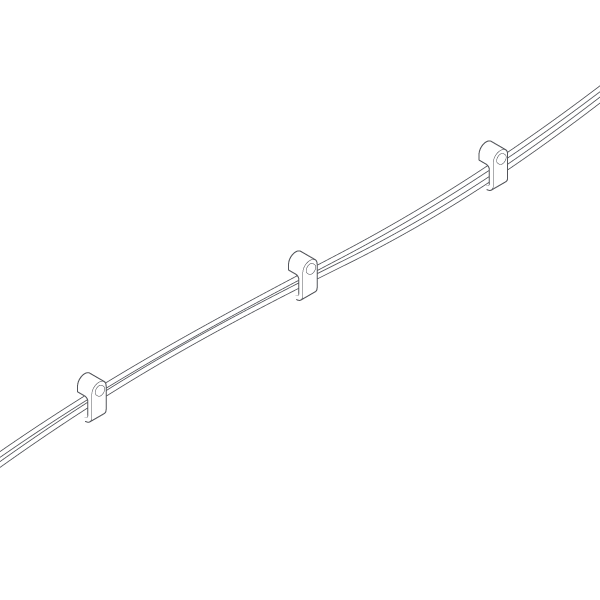
- Run the cable down from the outlet to your molding, then choose a path to your Video Doorbell.
- Secure the cable to the wall with provided cable clips.
- The cable can be run through your walls, a door, or a window.
- Avoid existing electrical wiring and pipes when drilling through walls.
Step 3: Attach the wires
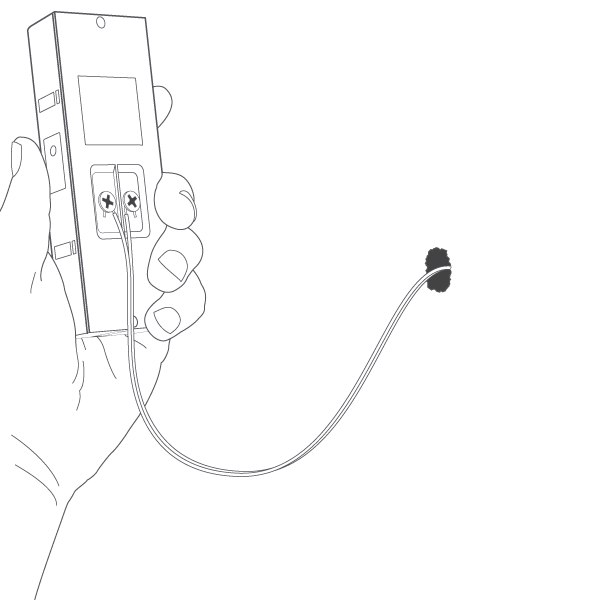
- Attach the power cables to the terminals on the rear of your Ring video doorbell.
- If you are connecting a video doorbell, it doesn't matter which cable is connected to which terminal. The device will work with either cable connected to either terminal.
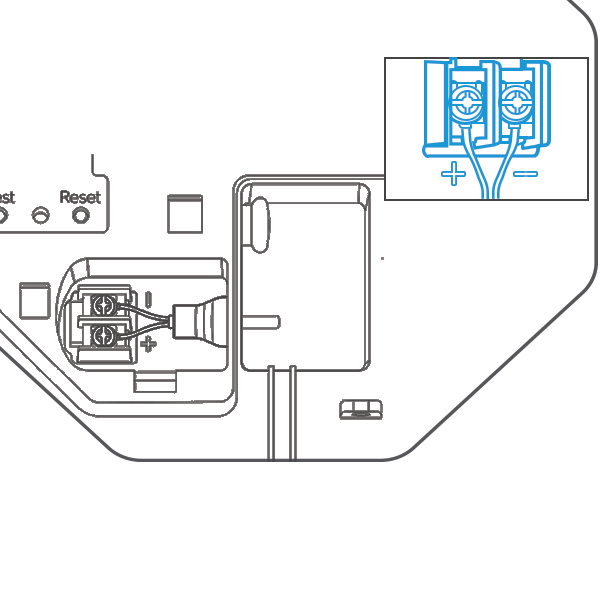
- If you are connecting an Outdoor Siren, you must correctly connect the positive (+) and negative (-) sides. The negative cable can be identified by a ridge running the length of the cable..
Step 4: Install your doorbell
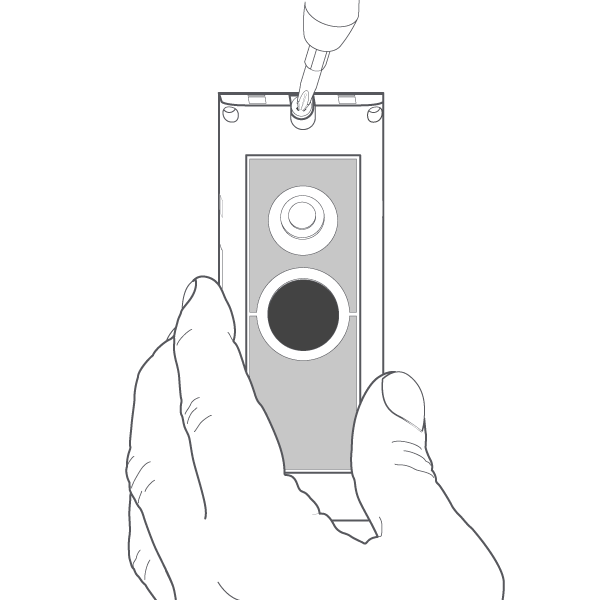
Physically install your doorbell. Get instructions for installing your doorbell.
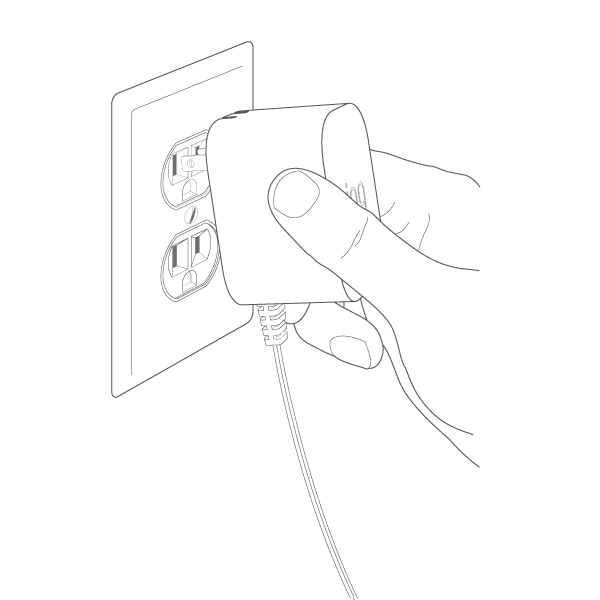
Step 5: Plug in the power adapter
It might take a moment for your device to power on. You will know it is powered when the LED indicator on your doorbell lights up. Learn more about doorbell light patterns.
Step 6: Set up your device
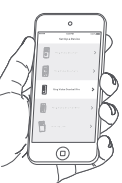
- Set up your device in the Ring app.
- Be sure to select “no chime” during setup. Do not press the doorbell button until setup is complete to avoid damage to your device.
- Chime kit settings can also be set to “no chime” in the Device Settings in the Ring app..
Step 7: Connect your doorbell to a Ring Chime (optional)
You can connect your doorbell to a Ring Chime (sold separately) to hear customizable audio alerts when motion is detected or someone rings your doorbell. Learn how to connect your doorbell to a Ring Chime.
