Installing Floodlight Cam (1st Gen)
Learn how to install your Floodlight Cam (1st Gen).
WARNING: Electrical shock hazard. Before you begin installation, disconnect power to the installation area with your circuit breaker or fuse box. Always use caution when you handle electrical wiring.
Installation by a qualified electrician may be required in your area. Refer to your local laws and building codes before performing electrical work; permits plus professional installation may be required by law.
Getting Started: Finding the correct mounting height
Floodlight Cam works best mounted about nine feet above ground level, if possible, with the motion sensor parallel to the ground as shown below. From this height, your Floodlight Cam can cover a wide visual area, as well as capture HD video of your visitors.

Step One - Installing the Floodlight Cam bracket
For detailed instructions on installing your Floodlight Cam bracket, watch the video below.
Step Two - Wiring your Floodlight Cam
For detailed instructions on wiring your Floodlight Cam bracket, watch the video below.
Step Three - Hang your Floodlight Cam
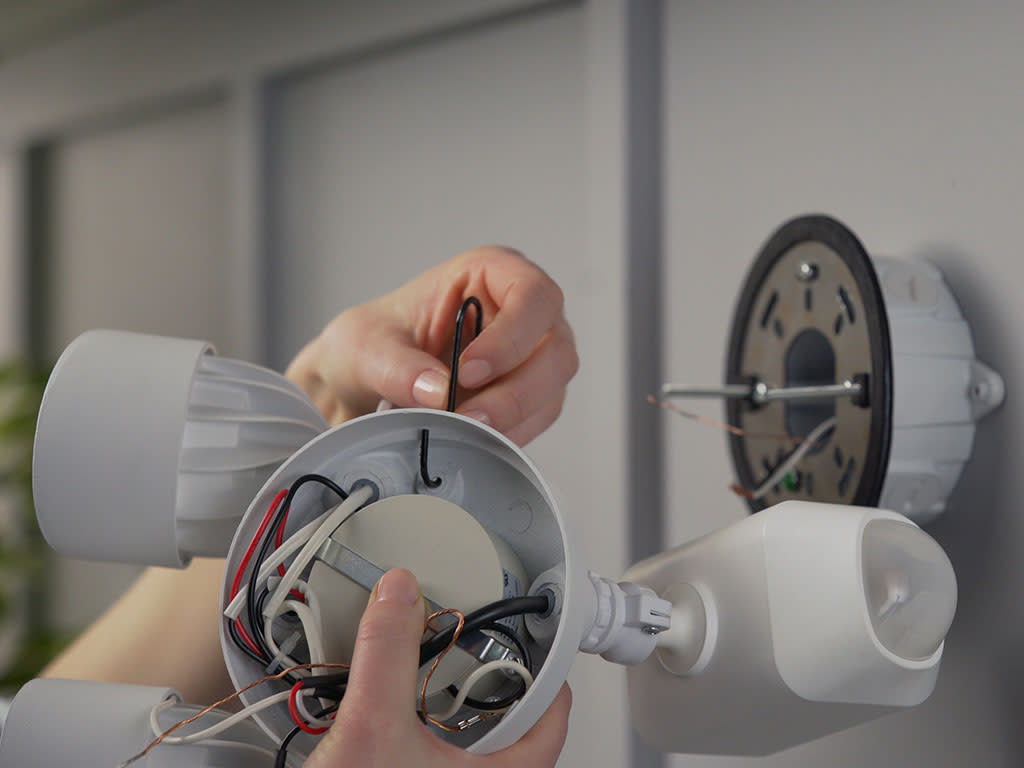
- Use the included hook to attach Floodlight Cam to your junction box by inserting one end through the mounting hole on your Floodlight Cam and the other end onto the mounting bracket.

Step Four - Finish wiring your Floodlight Cam
- Take the copper ground wire from your Floodlight Cam and loop it around the green ground nut on the Floodlight Cam bracket.
- Connect the copper ground wire to end of the green or copper ground wire coming out of your junction box with a wire nut.

- Using a wire nut: Wrap the wires you want to connect together, then put the ends inside the wire nut and twist clockwise until secure.

- Connect the black wire from your junction box to the black wire on Floodlight Cam using another wire nut.

- Connect the white wire from your junction box to the white wire on Floodlight Cam.
Safety note: If your junction box doesn't have clearly colored black and white wires, consult with a licensed electrician.
Step Five - Finish installing your Floodlight Cam
For detailed instructions on the final steps in your Floodlight Cam’s installation, watch the video below.
Learn more about setting up your Ring Floodlight Cam in the Ring app.
