
Installing battery-powered doorbells
View and download installation manuals for Ring Video Doorbells.
Learn how to install Ring battery-powered doorbells.
Watch the video guide for installing a doorbell with a removable battery
Watch the video guide for installing a doorbell with a built-in battery
Hardware included: Mounting screws (A) Mounting anchors (A) Security screw (B) Additionally, some devices come with: Wedge Kit or Corner Kit Short bracket screws (C) Medium corner mounting screws (C) Additional mounting anchors (C) Wire nuts (D) Wire extenders (D) Tools needed: Phillips head screwdriver Drill with 1/4 inch (6 mm) drill bit (optional) |  |
For hardwired doorbells
Step 1: Charge the battery
Learn more about charging your doorbell’s battery.
Doorbells with a removable battery
- Unscrew the security screw located on the bottom of the faceplate.
- Remove the faceplate from the doorbell by pressing in on the sides and carefully pulling it out and off.
- Connect the charging cable to the battery's charging port. While charging, your battery displays two colored lights, a solid green and an amber light. Charge the battery until only the green light remains lit.

Doorbells with a built-in battery
Fully charge the built-in battery by plugging it into a USB power source using the provided charging cable. When the LED circle on the doorbell fully lights up, the battery is charged.

Step 2: Setting up your doorbell in the Ring app
Open the Ring app and tap Set Up a Device. Once complete, use Live View to check your camera feed and video quality.

Learn more about setting up your doorbell in the Ring app. Learn more about fixing audio and video issues.
Step 3: Positioning your doorbell
For the best results, mount the doorbell 4 feet (1.2 meters) above the ground. Learn more about positioning your doorbell.

Step 4: Preparing the mounting surface
If using a Wedge Kit, Corner Kit, or mounting bracket with your device, install before mounting the doorbell.
Installing on a wood surface Drill and wall anchors are not needed.

Installing on a masonry surface
- Using the marked screw hole locations, drill pilot holes using a 1/4 inch (6 mm) drill bit.
- Insert the included wall anchors.

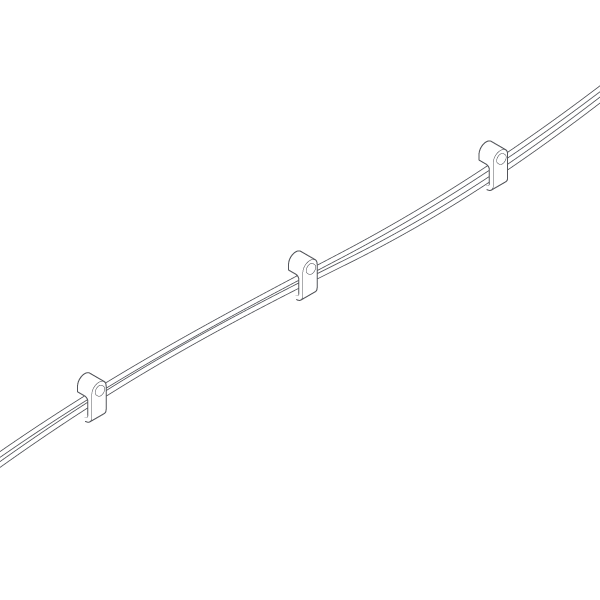
Step 5: Connecting optional power sources
You can use a Solar Charger, Plug-In Adapter, or existing doorbell wiring to provide a trickle charge to your doorbell. Connect power sources (Solar Charger, Plug-In Adapter, or doorbell wiring) before mounting. Use only one power source.
Solar chargers
Make sure to install the Solar Charger where it will get direct sunlight. Learn more about installing a solar charger for your doorbell.
Plug-In Adapter
If you are using a Plug-In Adapter, select No chime or None in the Chime Type settings of your Ring app. Learn more about configuring chime settings.
- Thread the adapter wires through the brackets, and connect them to doorbell terminals on the back.
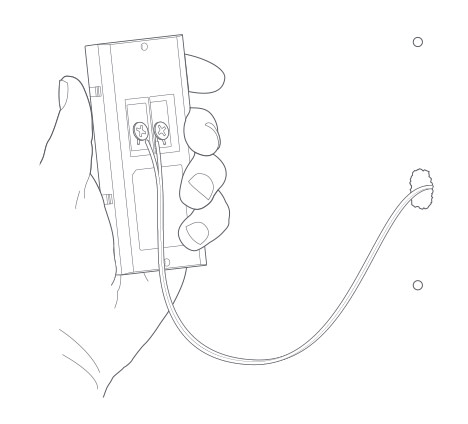
- Plug the adapter in to a power outlet.
- Secure the cable with clips.


Hardwire to an in-home chime or transformer
Your battery-powered doorbell can replace an existing doorbell button to trigger a compatible in-home chime or receive a trickle charge from a compatible transformer. Learn more about hardwiring your doorbell to an in-home chime or transformer.
Step 6: Mounting the doorbell
Doorbells with a removable battery
- Remove the battery.
- Secure the doorbell to the wall using the screws in bag A, or to the Corner Kit using the short bracket screws in bag C.
- Re-insert the battery into the doorbell.
- Re-attach the faceplate.
Installing directly to a wall / Installing to a Wedge or Corner Kit

Doorbells with a built-in battery
- Secure mounting bracket with the four screws from bag A.
- Hook the doorbell onto bracket's top tab.
- Press down until flush.

Step 7: Securing the doorbell
CAUTION! If you use the wrong screws to secure the faceplate, you could damage the battery during installation, create a fire hazard, and be seriously injured.
Use the included screwdriver to insert and tighten the security screw.
