
Installing your Solar Panel (USB-C) (2nd Gen)
This article outlines the step-by-step process to install the Solar Panel (USB-C) (2nd Gen).
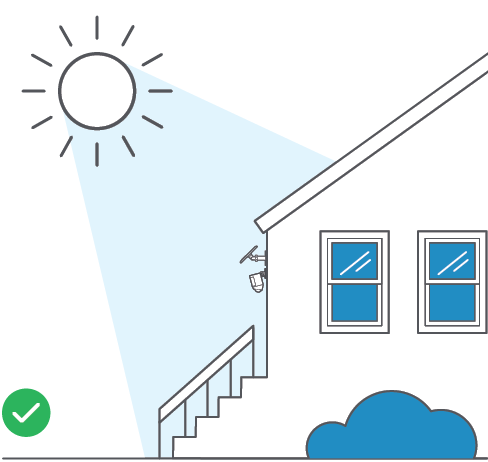
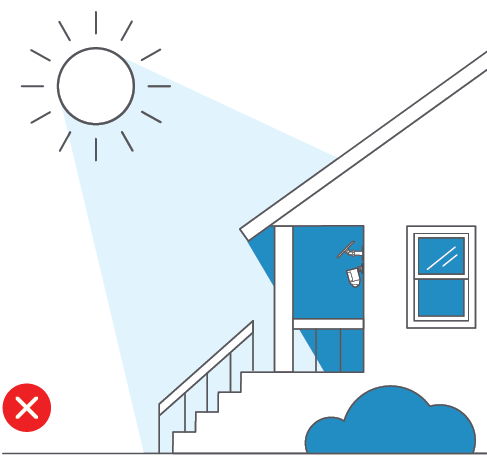
Choose an install location with the most direct sunlight.
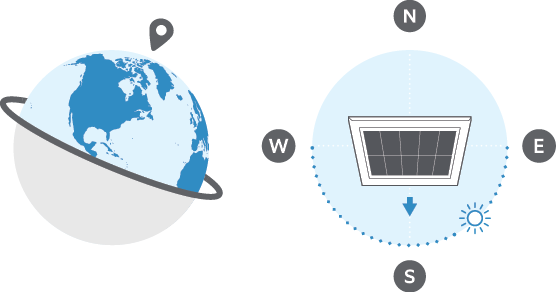
If you are in the Northern Hemisphere, direct your Solar Panel toward the south.
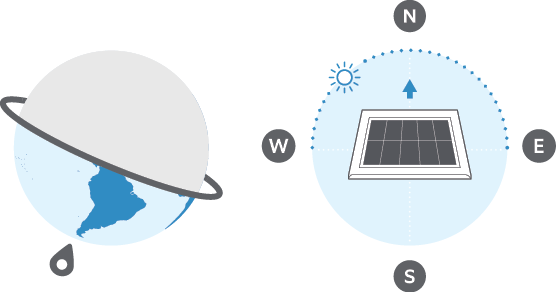
If you are in the Southern Hemisphere, direct your Solar Panel toward the north.
Make sure there is nothing blocking sunlight from reaching your Solar Panel.
Hardware in the box
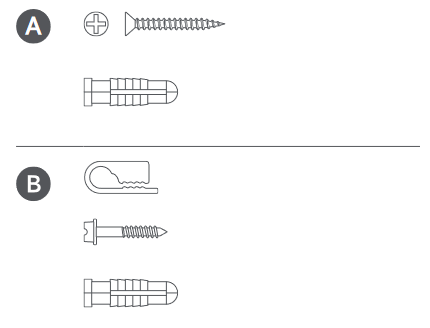
- Mounting screws
- Mounting anchors
- Cable clips
Tools needed

- Phillips-head screwdriver
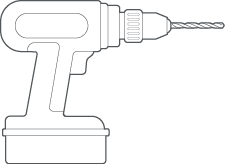
- Drill (optional)
Installing your Solar Panel
Screw the bracket to the wall.
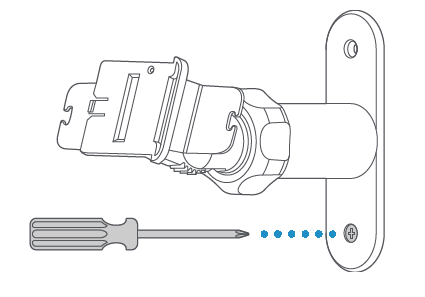
If mounting to brick, concrete, or stucco, use wall anchors and a 6mm drill bit.

Slide the Solar Panel onto the bracket until it clicks into place.
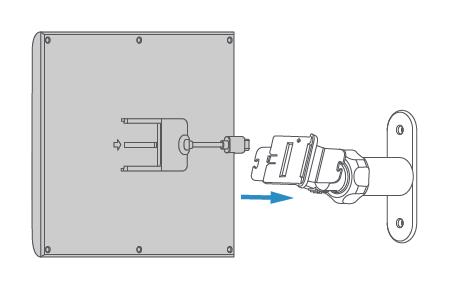
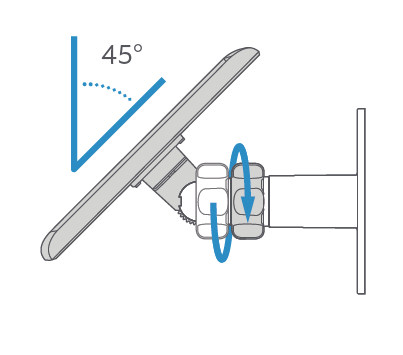
Loosen the adjustment nut and adjust the positioning as needed for most direct sunlight.
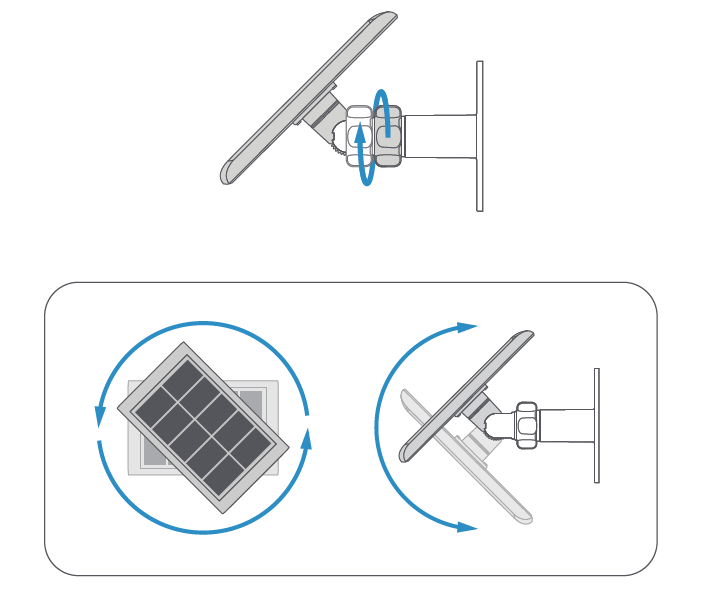
Tighten the adjustment nut once positioned.
We recommend that the Solar Panel is at about a 45 degree angle facing the sun.
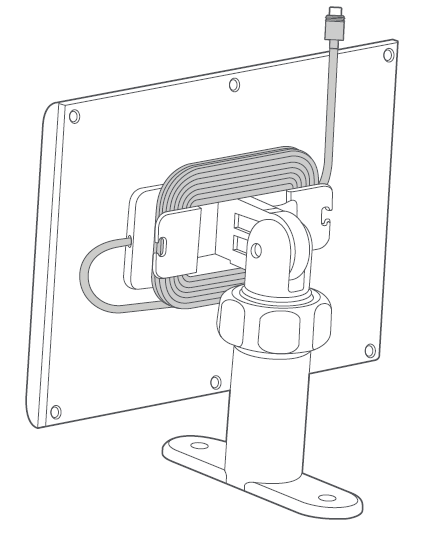
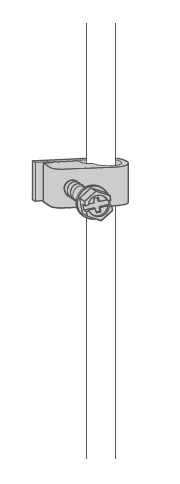
Wrap any spare cable around the cable holder and clip the cable into one of the cable stops.
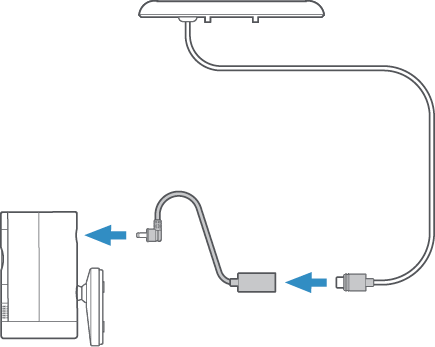
Connect your Solar Panel to your Ring device using the USB-C cable.
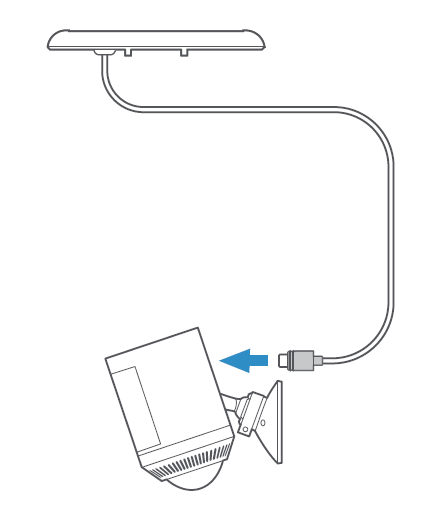
Barrel Connector option:
Use the cable clips to secure the cable in place.
Your Solar Panel is now installed.