Installing Intercom Kit for Video Doorbells
Use this step-by-step process to install your Intercom Kit for Video Doorbells.
View or download the user manual for Intercom Kit for Video Doorbells.WARNING: Risk of electrical shock. Installation by a qualified electrician may be required in your area. Refer to your local laws and building regulations before performing electrical work; permits and/or professional installation may be required by law. Turn off power at the consumer unit before installing.

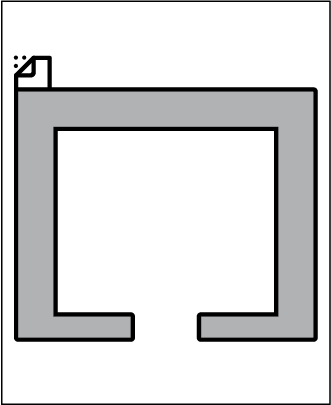
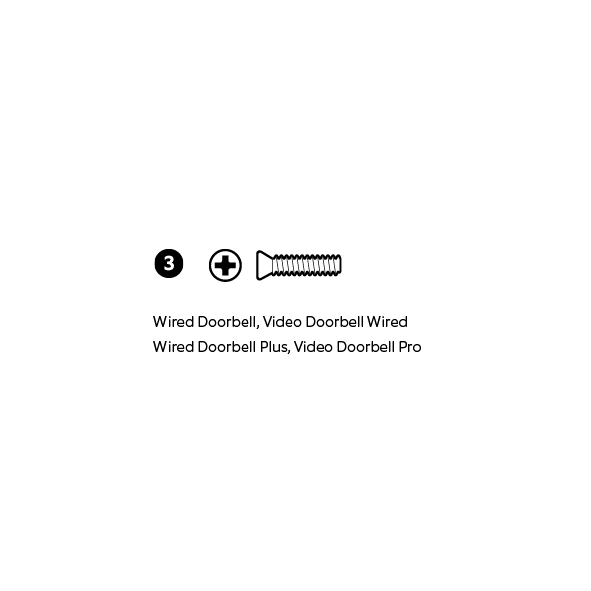
Use for Step 3 ONLY. Not for use on wall.
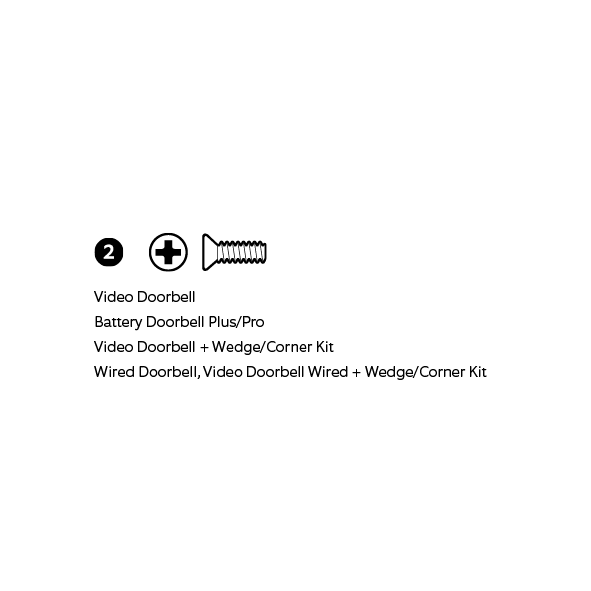
Hardware included
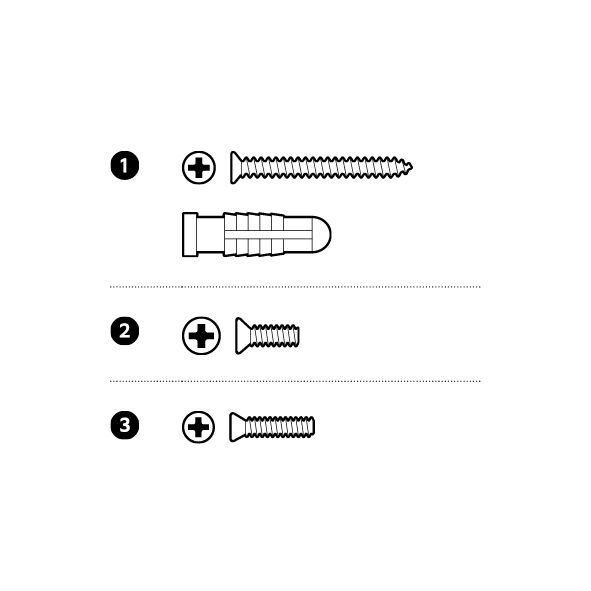
1.

Warning: Professional installation recommended. Turn off the power to your existing intercom first.
2. Remove your existing intercom. Refer to your existing intercom’s manual for uninstall instructions or consult a qualified electrician.
3. Poke holes compatible with your video doorbell.
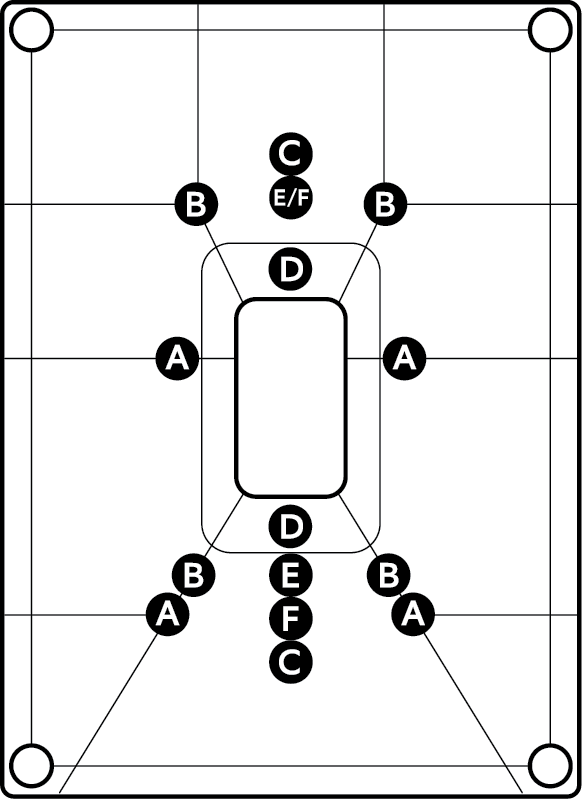
A. Battery Video Doorbell Plus/Pro Video Doorbell 2/3/3 Plus/4
B. Battery Video Doorbell Video Doorbell
C. Wired Video Doorbell Plus/Pro Video Doorbell Pro/Pro 2
D. Wired Video Doorbell + Wedge/Corner Kit
E. Battery Video Doorbell + Wedge/Corner Kit Battery Video Doorbell Plus/Pro + Wedge/Corner Kit Wired Video Doorbell + Wedge Kit Video Doorbell + Wedge/Corner Kit Video Doorbell 2/3/3 Plus/4/Pro/Pro 2 + Wedge/Corner Kit
F. Wired Video Doorbell Video Doorbell Wired
See full list of compatible devices at ring.com/compatibility
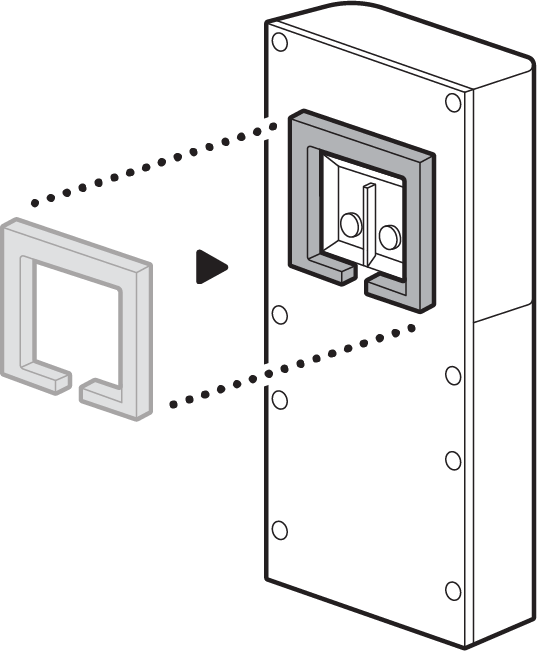
4. Align intercom kit and intercom gasket.
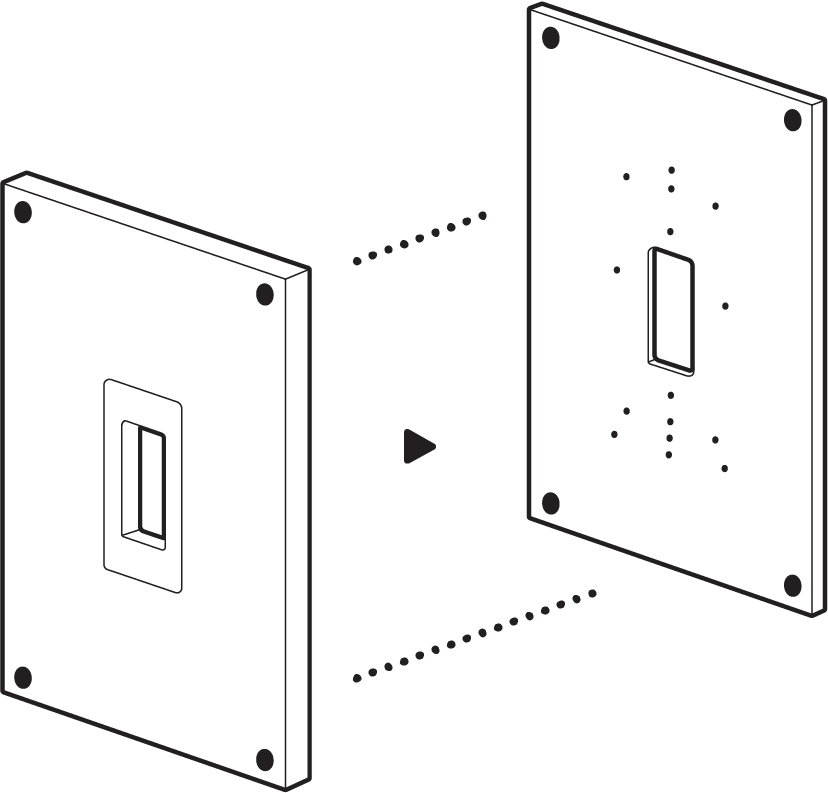
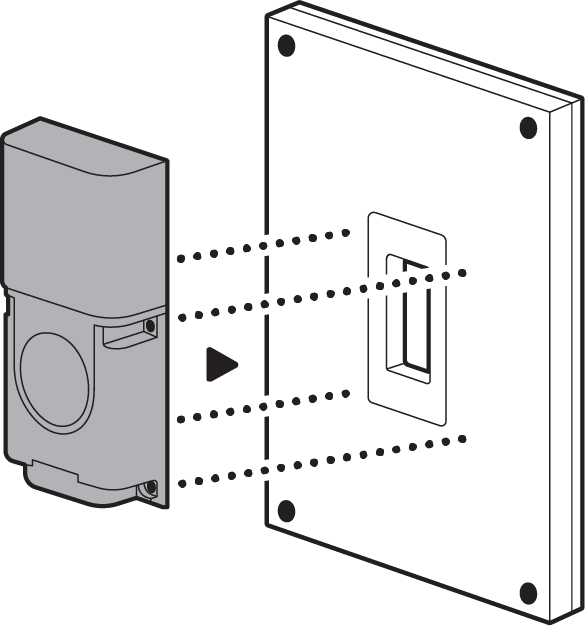
5. Mount with included screws.
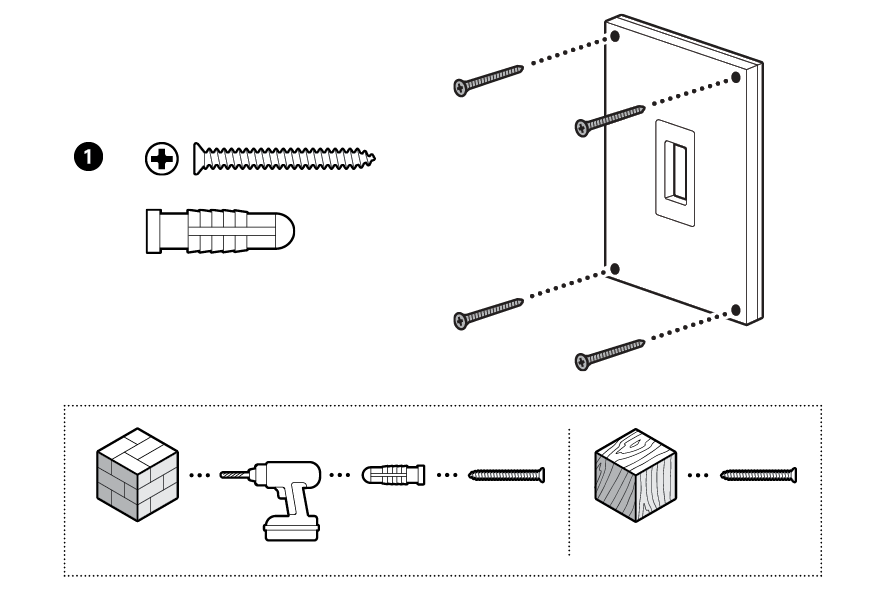
On stucco, brick, or concrete, use a 1/4 in (6 mm) masonry bit to drill holes for the included wall anchors.
6. Attach video doorbell gasket around wire terminal, if necessary.
Battery Video Doorbell, Video Doorbell Battery Video Doorbell Plus/Pro
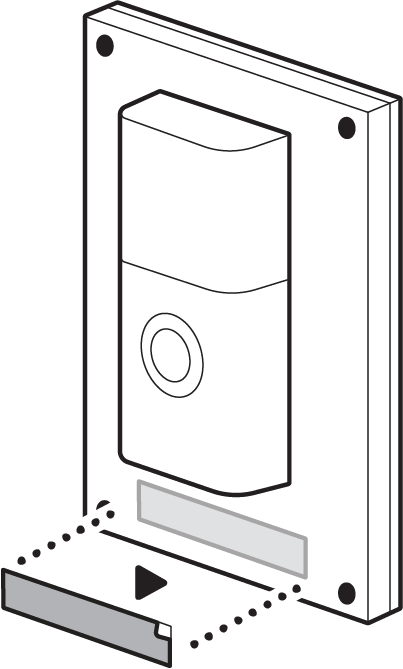
7. After wiring your Ring Video Doorbell, ensure there are no loose wires. Customise your intercom kit with the included label.
8. Restore power at the consumer unit.

