
Installing the Ring Solar Charger for the Ring Video Doorbell (2nd Generation)
Installing your Ring Solar Charger with your Ring Video Doorbell (2nd Generation) is a very a simple process. Scroll down for a step-by-step guide.
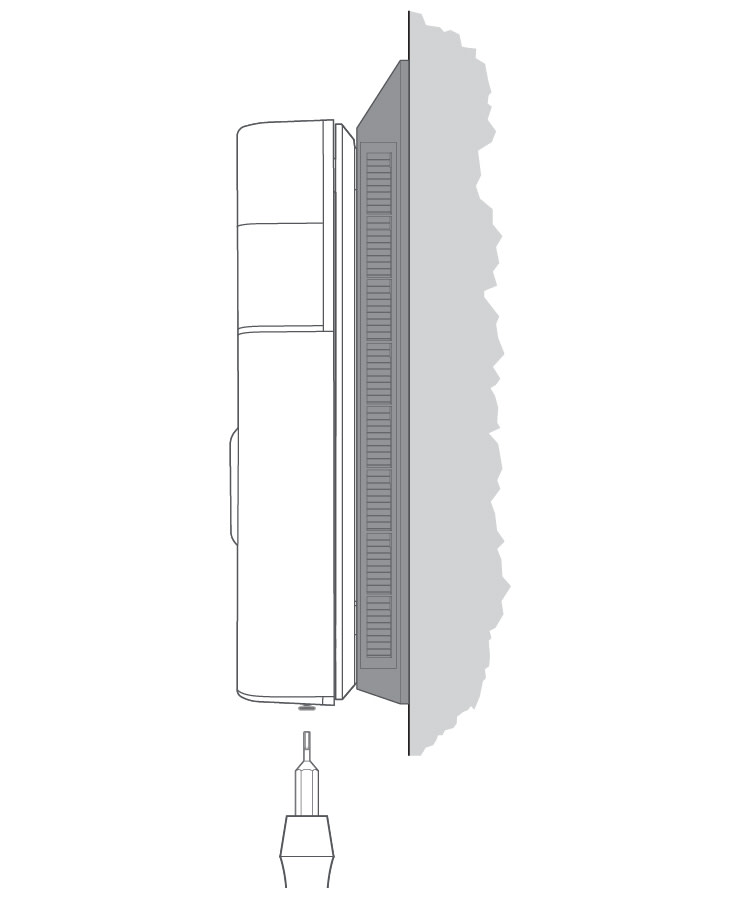
Note: Wall anchors are optional and are only needed when mounting to a hard surface, such as brick or stucco.
Step One - (optional) Uninstall your Ring Video Doorbell (2nd Generation)
If your Ring Video Doorbell was already mounted on your home, go ahead and remove the mounting bracket. To uninstall the Ring Video Doorbell.
- Remove the security screw.
- Pop off the faceplate.
- Remove the mounting screws.
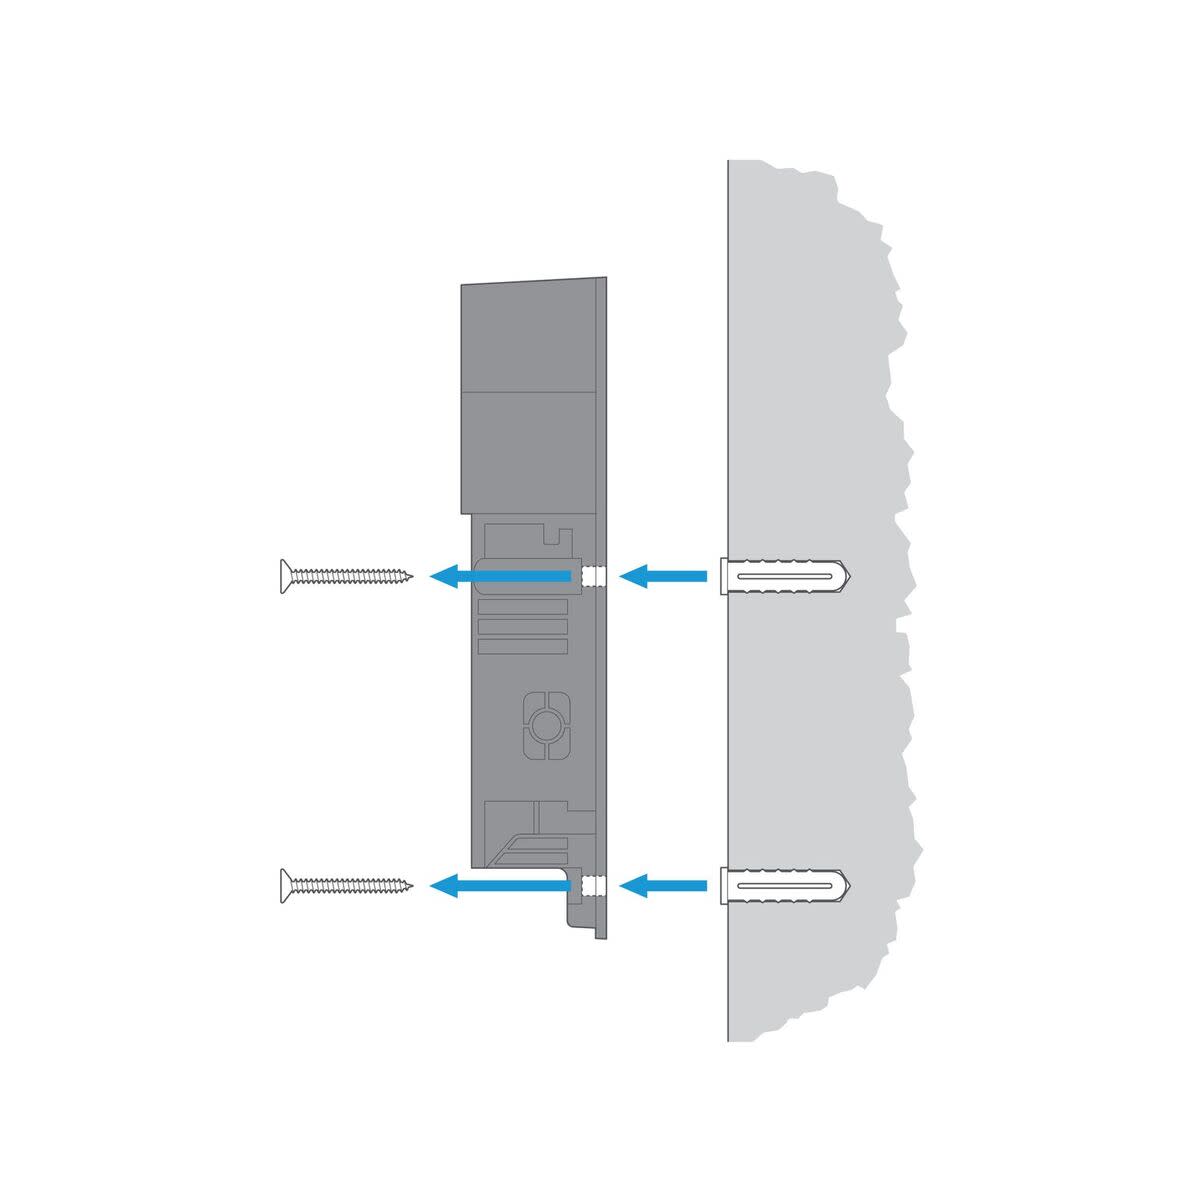
Step Two - Mount the Solar Charger
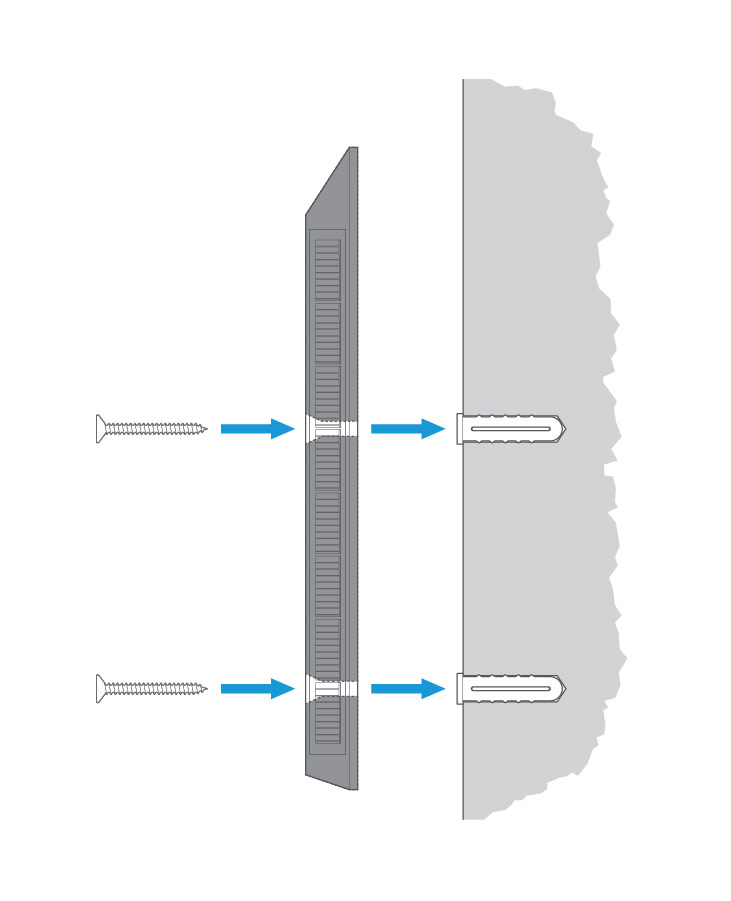
Using the provided screws mount your new Solar Charger to the wall.
Note: If you are mounting the Solar Charger to a brick or stucco wall, you will need to use the provided wall anchors.
Step Three - Attach your Ring Video Doorbell
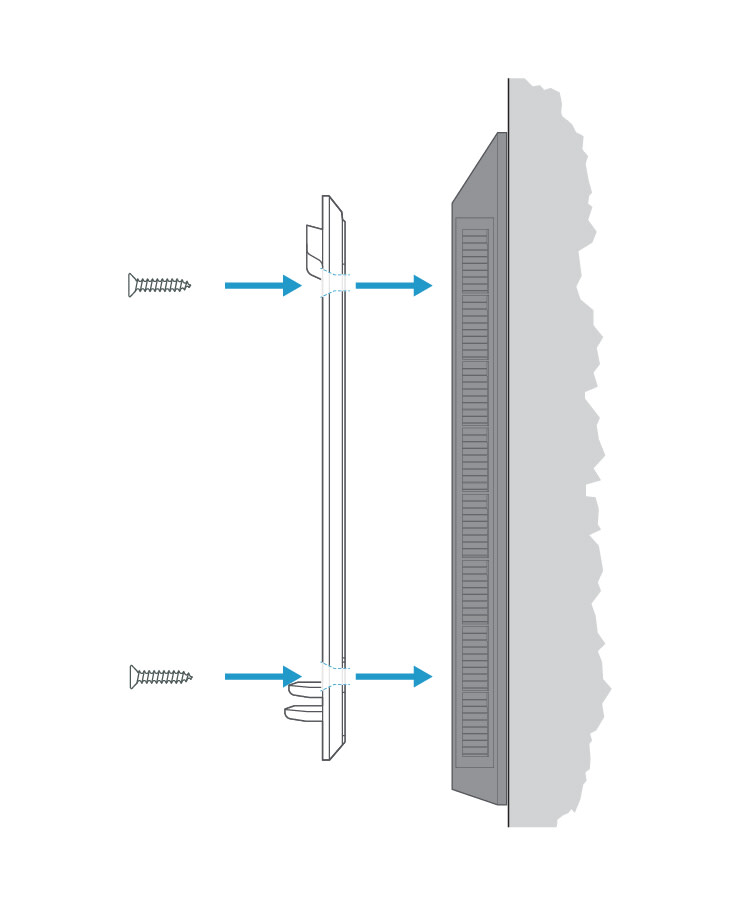
Attach your Ring Video Doorbell mounting bracket to your solar charger.
Step Four - Connect the Micro USB cable
Connect the Micro USB cable to the charging port located on the back of your Ring Video Doorbell.
Step Five - Mount your doorbell
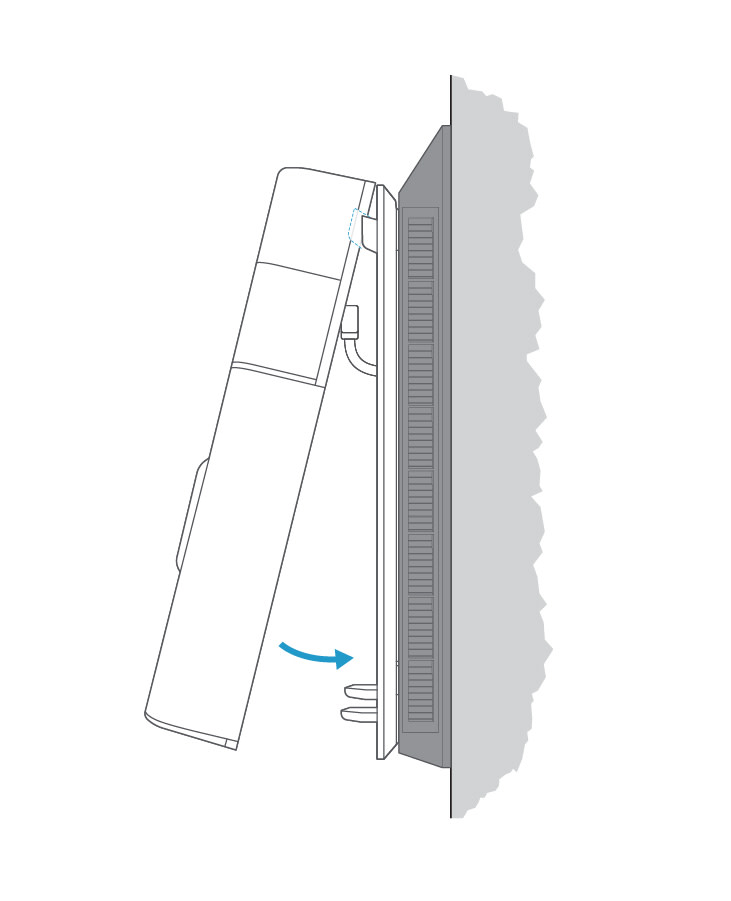
Fit your Video Doorbell onto the mounting bracket, taking care to feed the retractable wire back into the solar charger.
Step Six - Finish your installation
Finish your installation by securing your Video Doorbell to the mounting bracket with the security screw.
Get more information on the Ring Video Doorbell (2nd Generation) Solar Charger