Installing your Hardwired Kit for Spotlight Cam
If you’ve previously purchased a Ring Spotlight Cam Wired and are looking into hardwiring your device into your home electrical system, the entire process can be made much simpler with the Hardwired Kit for Spotlight Cam.
This article will help you install your Hardwired Kit for Spotlight Cam. Simply follow the step-by-step instructions.
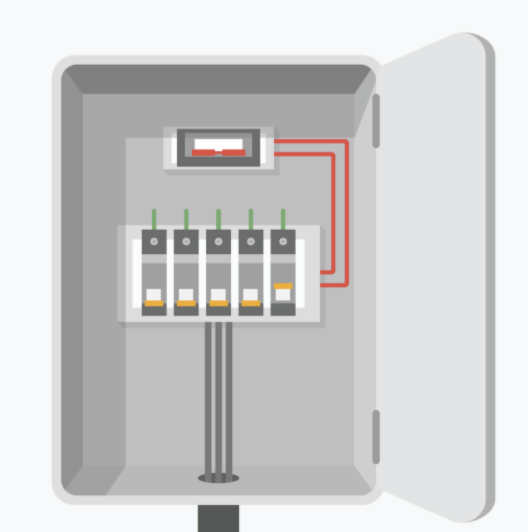
1. Turn off power at the consumer unit
If you don’t know where your consumer unit is or how to turn off power to the circuit you want to use, consult with a licensed electrician. If your local laws require it, hire a licensed electrician to complete all installation and wiring.
2. Remove your existing light or camera (if applicable)
With power off at the consumer unit, remove your existing Spotlight Cam Wired from the electrical box and disconnect the wires. If there is a bracket attached to your electrical box, remove that as well.

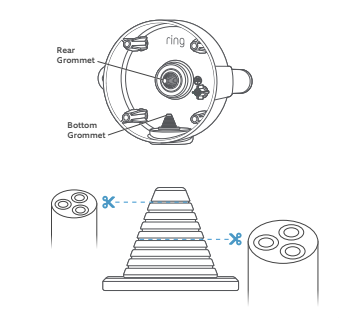
3. Cut the grommet
The included backbox has two cable inlets with rubber grommets. Choose the inlet that suits your install location, then get out the scissors. Cut off the end of the grommet cone at a point where it’s a bit narrower than your cable. If you’re routing the cable through the rear, insert it now.
4. Prepare the backbox
If you haven’t already, push your power cable into the box through the grommet you cut. Drive two of the included Mounting Screws through the holes on either side of the backbox to secure it.
Note: If installing on a hard surface like brick or stucco, pre-drill these holes with the included bit and push the included anchors into the holes.
Next, secure the earth wire from your home (bare copper or green/yellow jacketed) under the earthing screw.
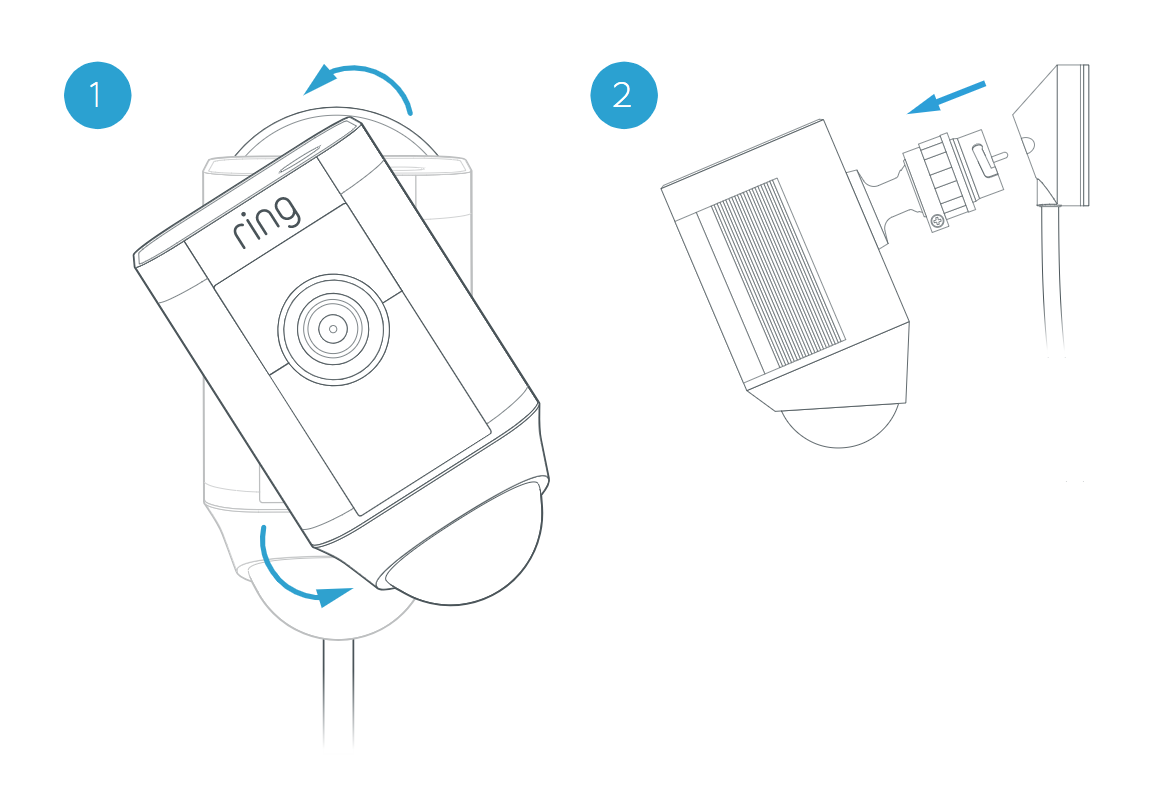
5. Remove your Spotlight Cam from its base
While holding the mounting base, turn Spotlight Cam to the left to disengage it and set the camera aside for now.
- When mounting to a vertical wall, you’ll usually want the mounting pro to face downwards.
- If mounting to a horizontal surface, face the port in the direction you want the camera to view.
6. Connect the power wires
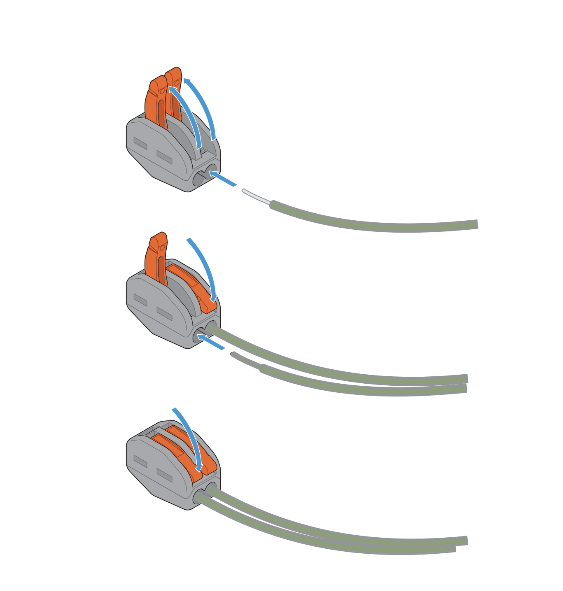

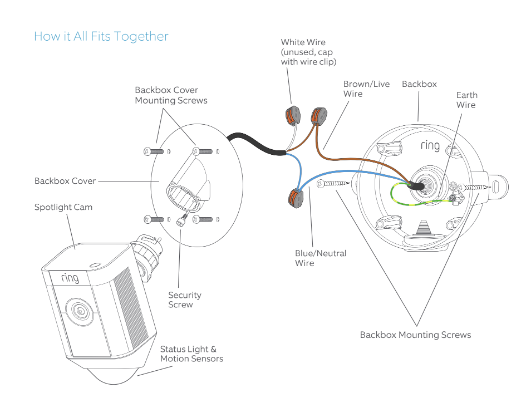
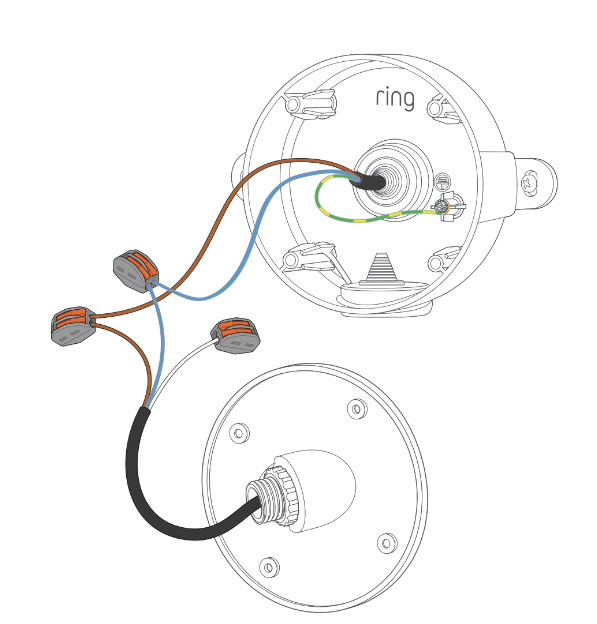
Now you’ll want to connect the brown (L) and blue (N) wires from the wiring harness to their matching brown and blue wires from your home’s power system.
Pull up the orange tabs on the wire clip to open. Line up the ends of each pair of wires side-by-side, and fully insert them into the holes in the clip.
Then, just push the orange tabs down to close and secure the connection. The white wire on the harness is not used, so cap it with a wire clip as well.
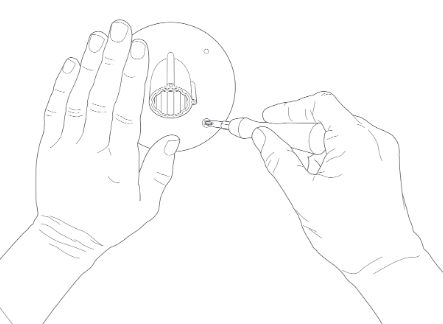
7. Mount the backbox cover
Use the included cover screws to secure the cover to the backbox.
8. Connect your Spotlight Cam
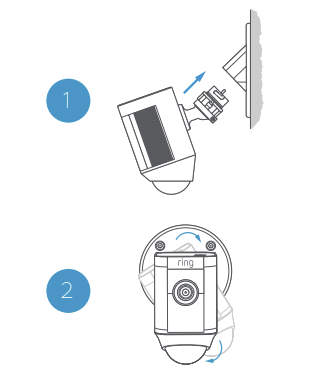
After this step:
Insert the security screw, and turn the power back on at the consumer unit.
