Installing Indoor Cam
Use the following steps to install your Indoor Cam (1st and 2nd Gen). If you are installing Pan-Tilt Indoor Cam, follow our guide.
Installation manuals
View or download the user manual for Indoor Cam (1st Gen).View or download the user manual for Indoor Cam (2nd Gen).Watch the video guide for installing Indoor Cam
Hardware included
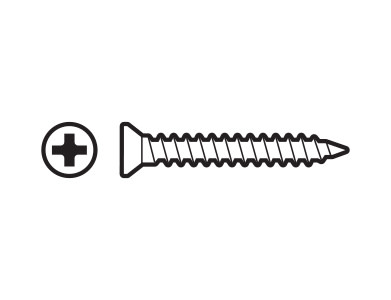
- Mounting screws (A)
- 10W USB-A Power Adapter
- USB-A to Micro USB Charging Cable 6.5 ft (2 m)
Tools needed
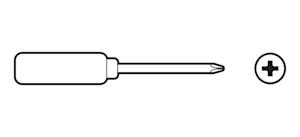
- Phillips-head screwdriver
Step 1: Use the Ring app to set up the device
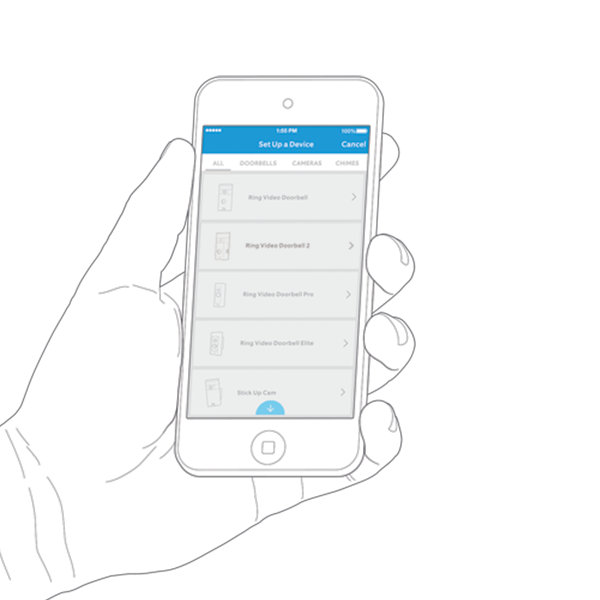
Learn how to set up the Indoor Cam in the Ring app.
Step 2: Position your Indoor Cam for installation
Indoor Cam comes ready to sit on a flat surface, such as a table or shelf, or can be mounted to a wall. Choose a spot where it can provide the view you want, within reach of a power socket. Learn more about how the position can influence the performance and view of your Indoor Cam.
Caution: Ring Indoor Cam and its accessories are for indoor use only. Your device may get warm during normal use. We recommend placing your device on a heat-resistant surface.
Step 3: Install Indoor Cam
Installing on a table or shelf
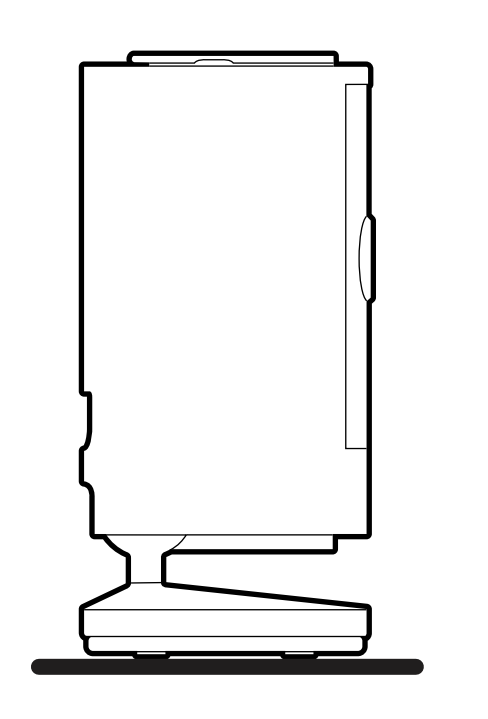
Indoor Cam comes with the base installed for placement on a flat surface, such as a table or shelf.
Installing on a wall or ceiling
1. Remove the mounting plate. Slide the mounting plate down from the base of the camera.
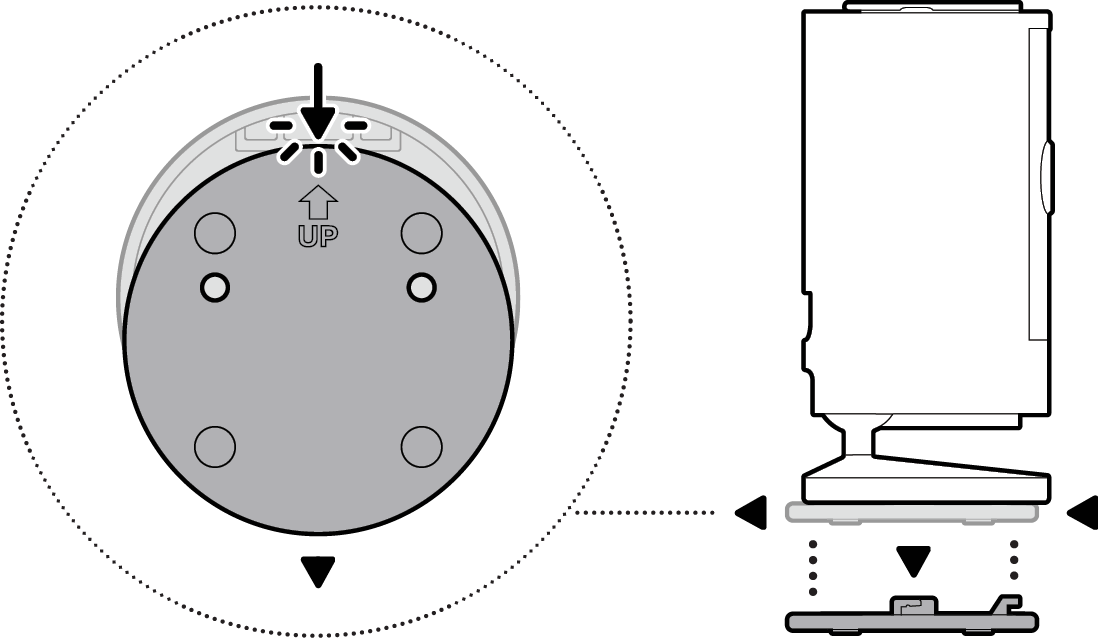
2. Mark the wall or ceiling for screw placement. Use the mounting plate as a guide to mark screw holes on the wall or ceiling.
- For wall mounted installation, the UP arrow should be pointed up.
- For ceiling installations, the UP arrow should be pointed away from the area you want to monitor.
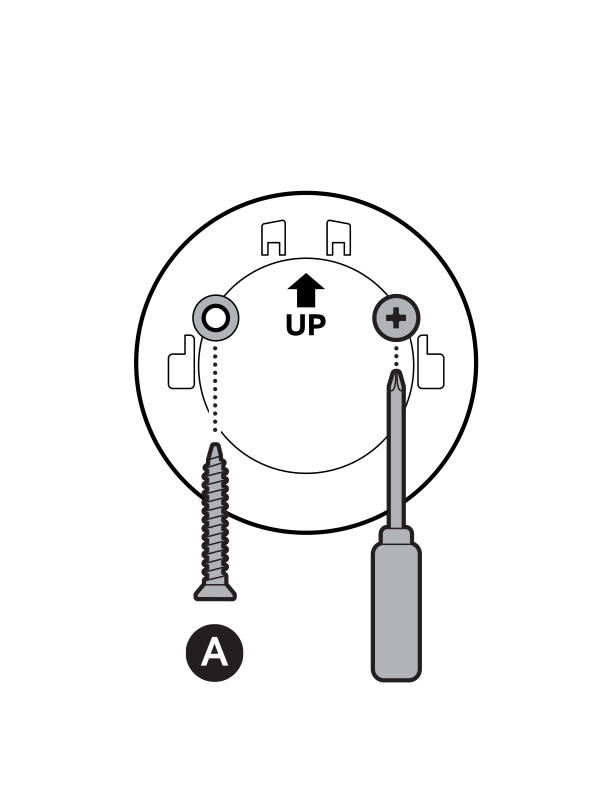
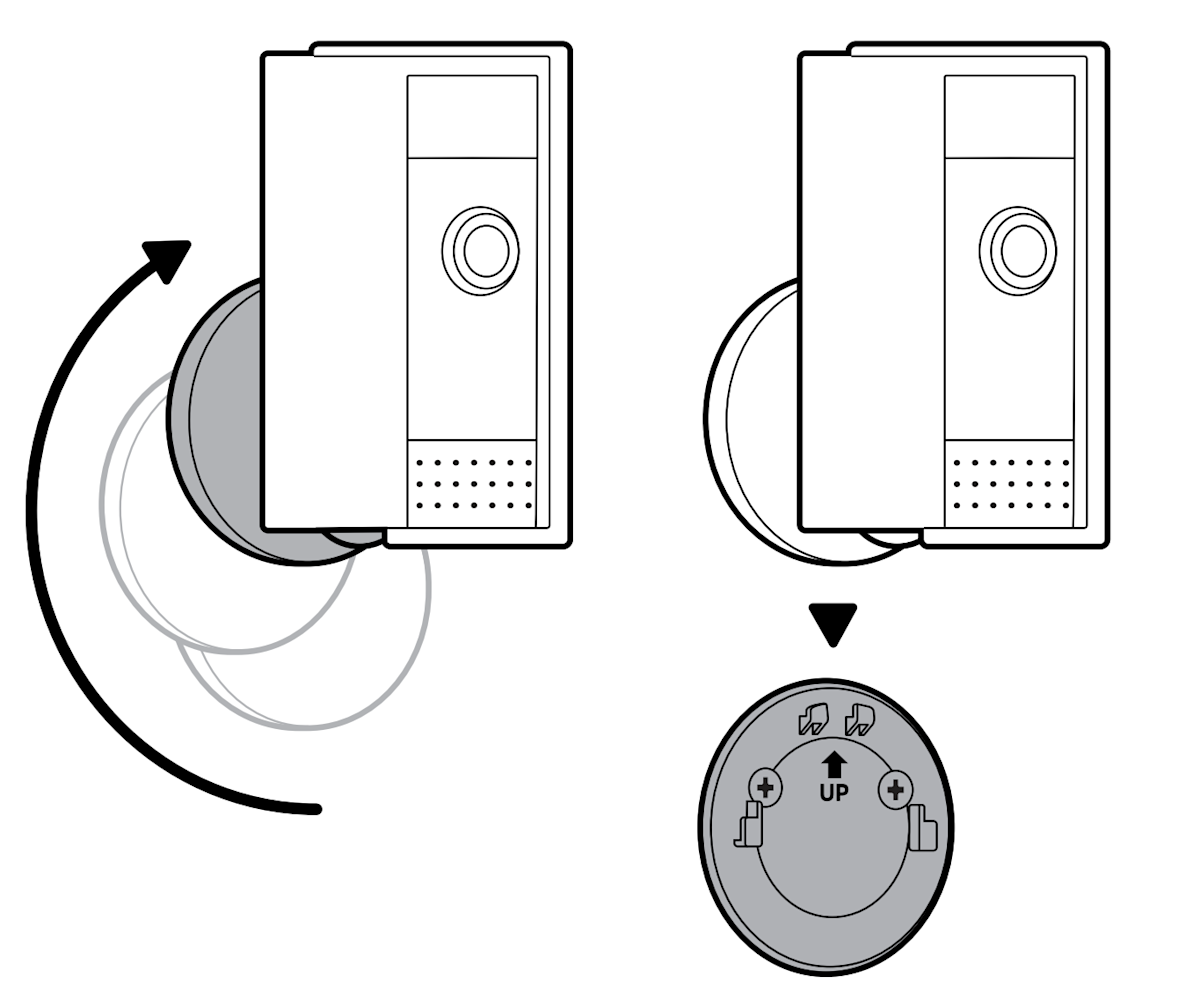
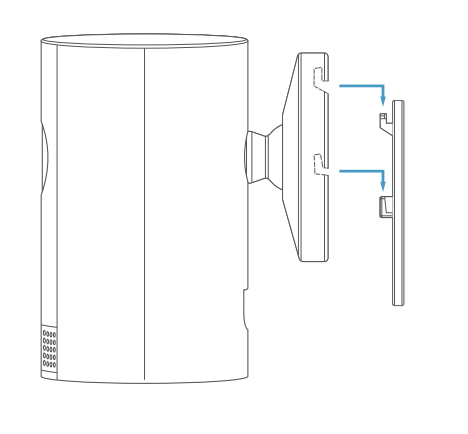
3. Place the camera on the mount.
- For Indoor Cam (2nd Gen), pivot the base to the back of the camera, and slide it down into the mounting plate.
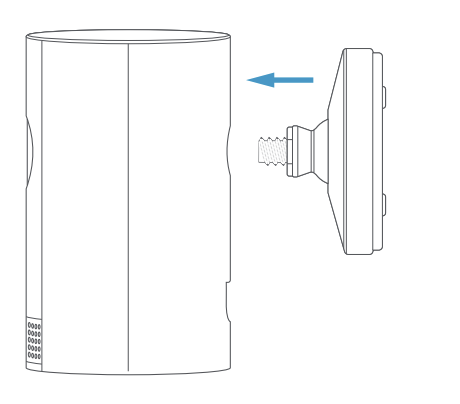
- For Indoor Cam (1st Gen), unscrew it using a standard Phillips-head screwdriver (not included). Reattach the base by screwing it into the back of the camera with the “UP” arrow pointing up. Slide the camera down onto the mounting bracket.

Step 4: Plug in the power cable
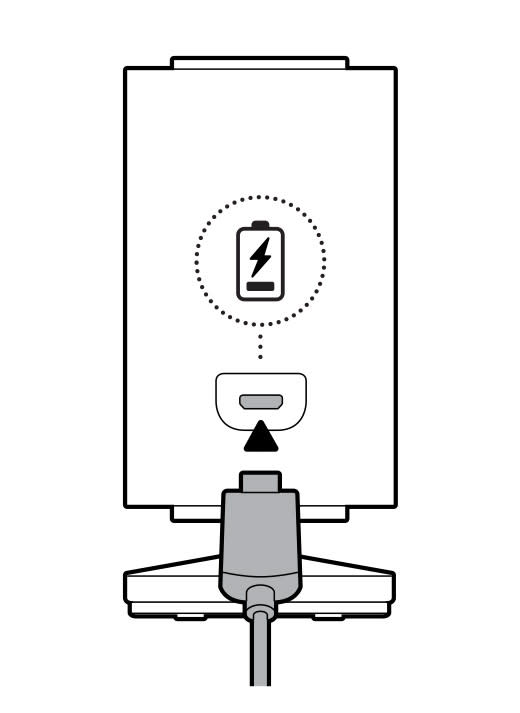
- Insert the USB power cable into the back of the device.
- Plug the cord into a wall outlet for power.
Caution: Use only accessories supplied with your device or specifically marketed for use with your device. Use of third-party accessories may impact your device’s performance. In limited circumstances, use of third-party accessories might cause damage to your device or the third-party accessory. Read all safety instructions for any accessories before using with your device.
When this device is plugged into an electrical socket-outlet, unplugging this device will disconnect it from the AC mains supply. Only plug this device into an easily accessible socket-outlet. Devices with a power cord must be located near the socket-outlet.
Your device does not have an on/off button. If you wish to stop power from flowing into your device, unplug the power cord. Do not plug multiple electric devices into the same wall socket. Overloading a socket can cause it to overheat and may result in a fire.
If the adapter or cable appears damaged, discontinue use immediately.
Step 5: Adjust the camera angle
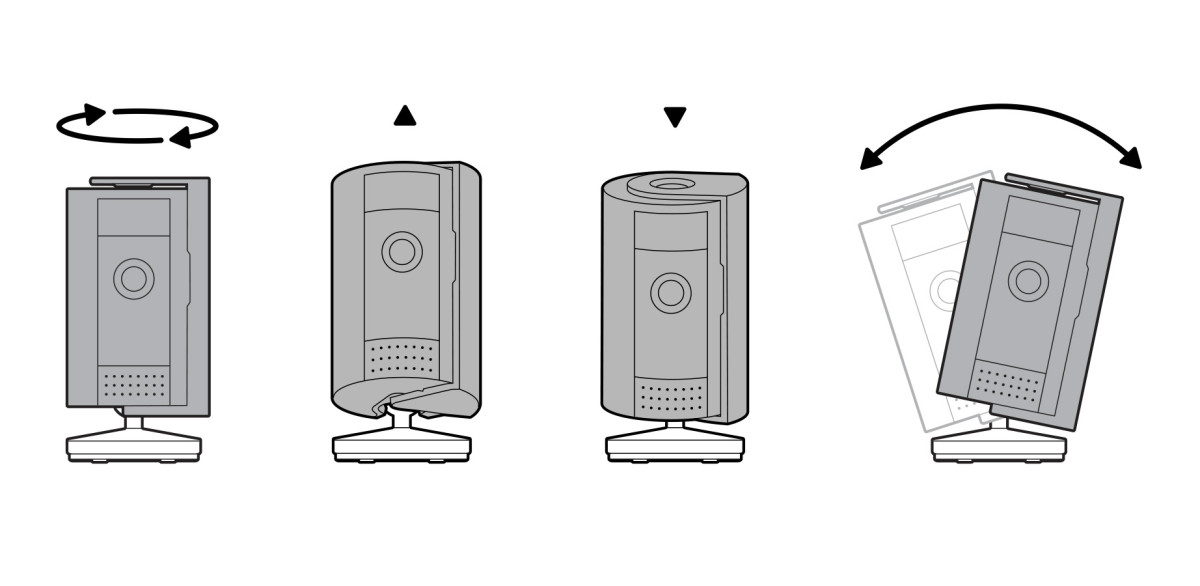
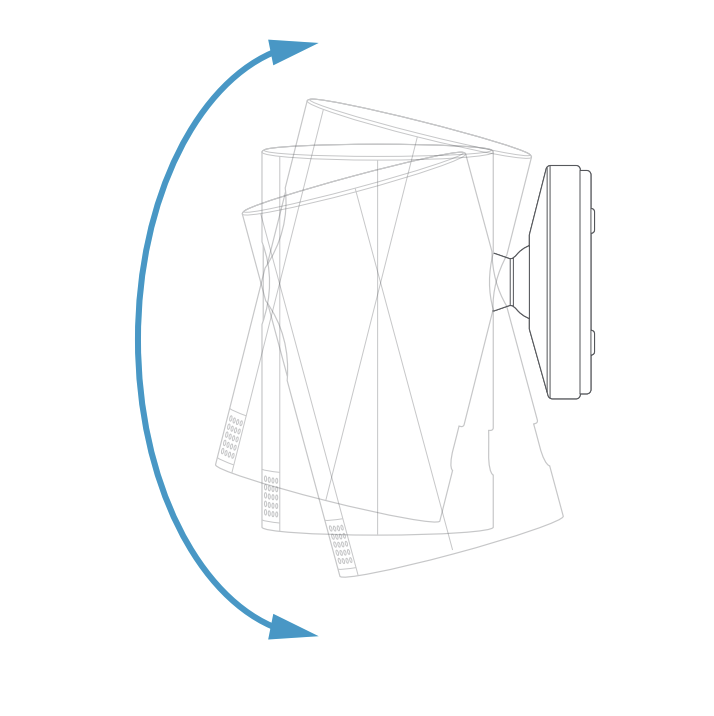
Open Live View in the Ring app to make sure the camera is positioned to view the area you want to monitor. You can adjust the view by rotating the camera on the base.
Using the privacy cover
The privacy cover comes in the box with Indoor Cam (2nd Gen). You can use the privacy cover to deactivate the audio, video recording, Live View, and motion detection. Privacy Kit can be purchased separately for Indoor Cam (1st Gen).
Opening and closing the privacy cover
Manually slide the cover left or right to cover the camera lens for privacy.
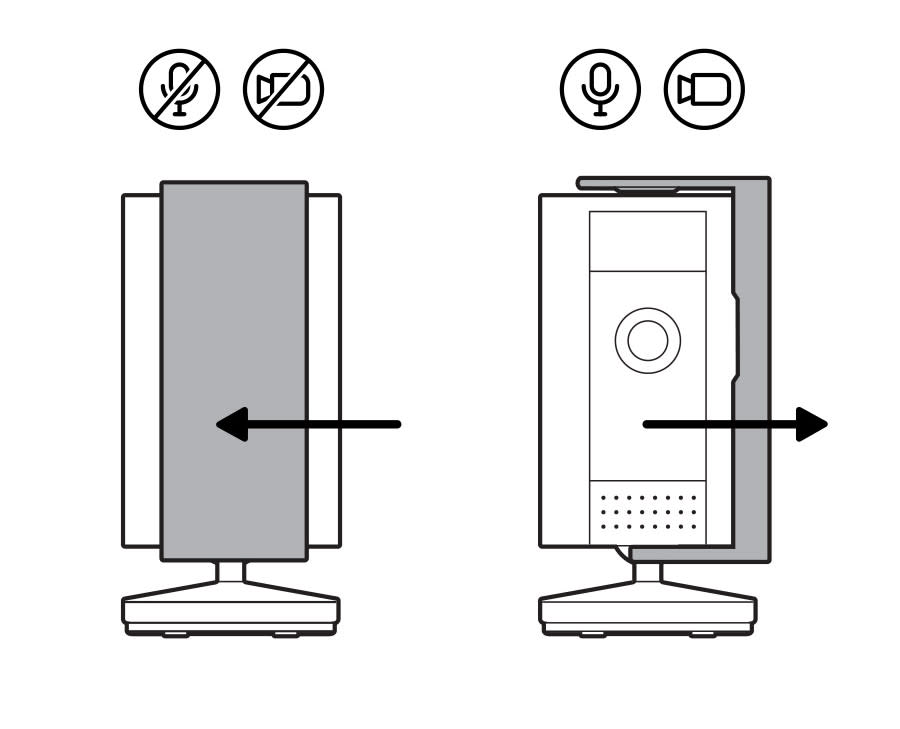
Removing the privacy cover
1. Twist the privacy cover so the unlock symbol is aligned with the line on the top of the camera.
2. Pull the privacy cover away from the camera, starting at the top.

Attaching the privacy cover
1. Align the top and bottom of the privacy cover with the center holes on the top and bottom of the camera.
2. Insert the bottom part of the privacy cover into the bottom of the camera first.
3. Push the top of the privacy cover onto the top of the camera until it clicks into place.

Caution: Ring Indoor Cam and its accessories are for indoor use only. Don’t expose your device to steam, extreme heat or cold. For example, do not install your device near any heat sources such as space heaters, heater vents, radiators, stoves, or other things that produce heat. Use your device in a location where temperatures remain within the device’s operating temperature range set forth in this guide. Your device may get warm during normal use. To reduce the effect of the warming, place your device on a heat-resistant surface.
