Installing Solar Charger (USB-C) for Battery Doorbells
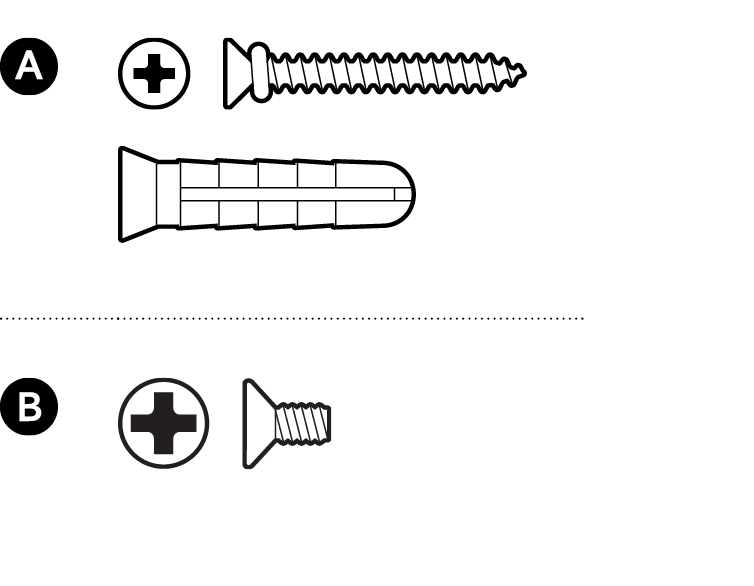
Hardware included
Tools needed
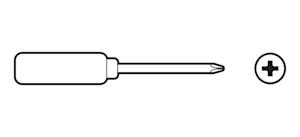
PH2 screwdriver

0.25 inch masonry drill bit and drill
1. Choose a location.
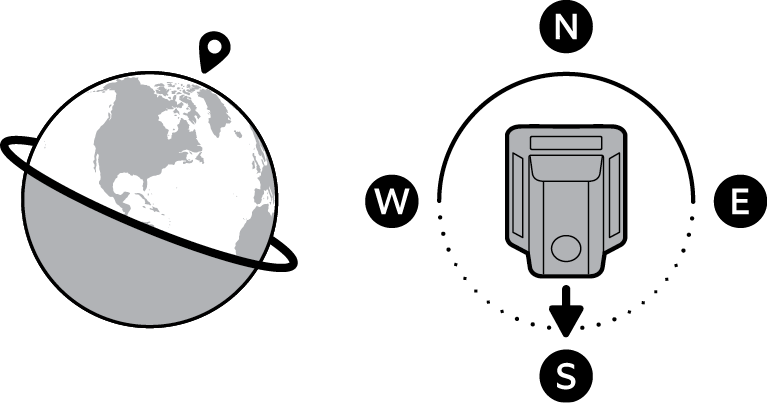
If you are in the Northern Hemisphere, direct your solar charger toward the south.
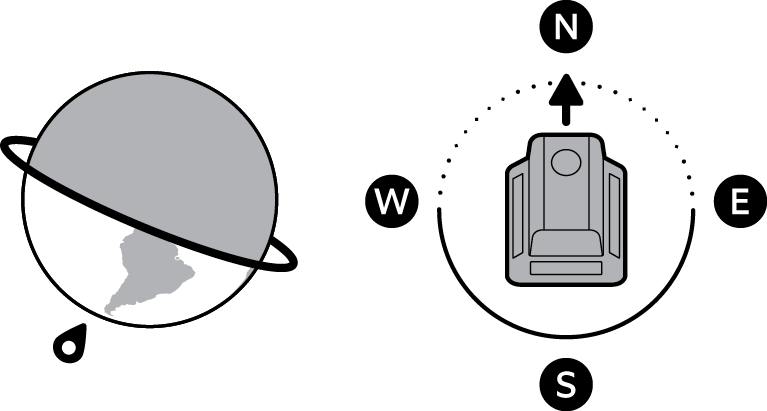
If you are in the Southern Hemisphere, direct your solar charger toward the north.
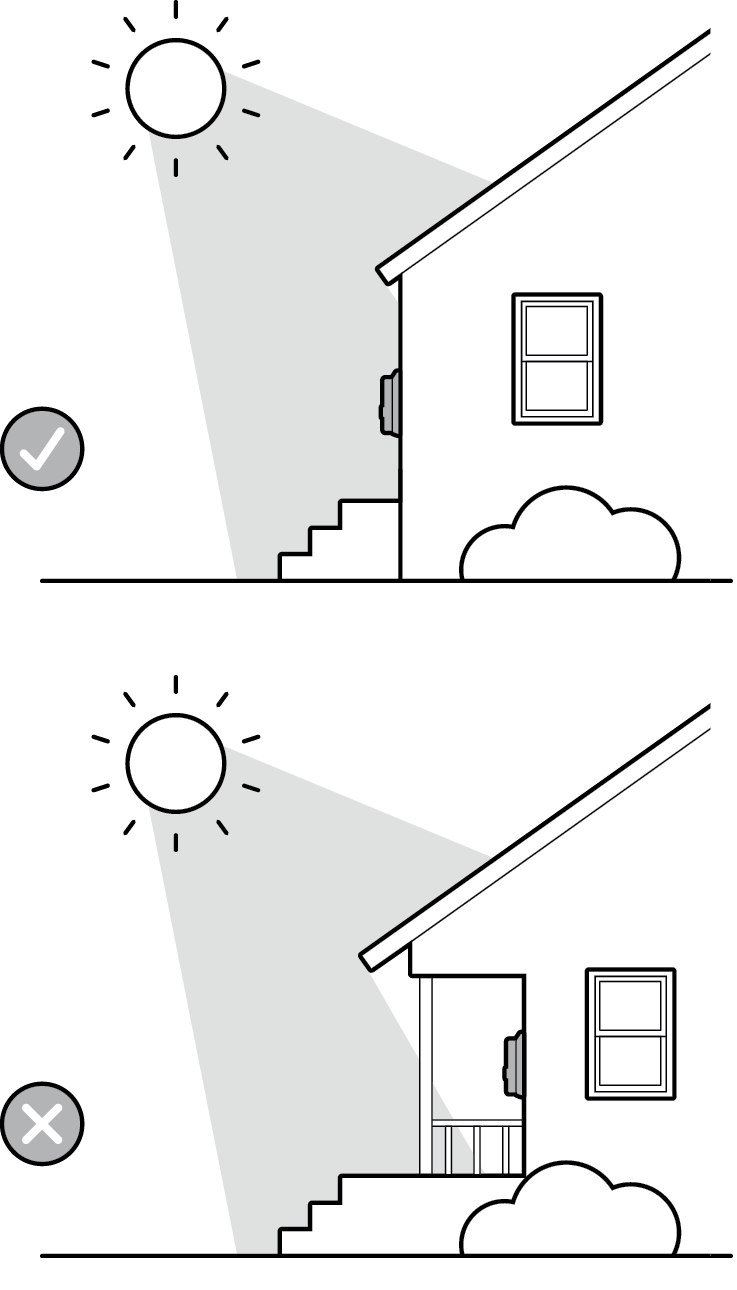
Ensure nothing is blocking sunlight to your solar panel.
2. If you had a previously mounted doorbell, remove the mounting bracket.
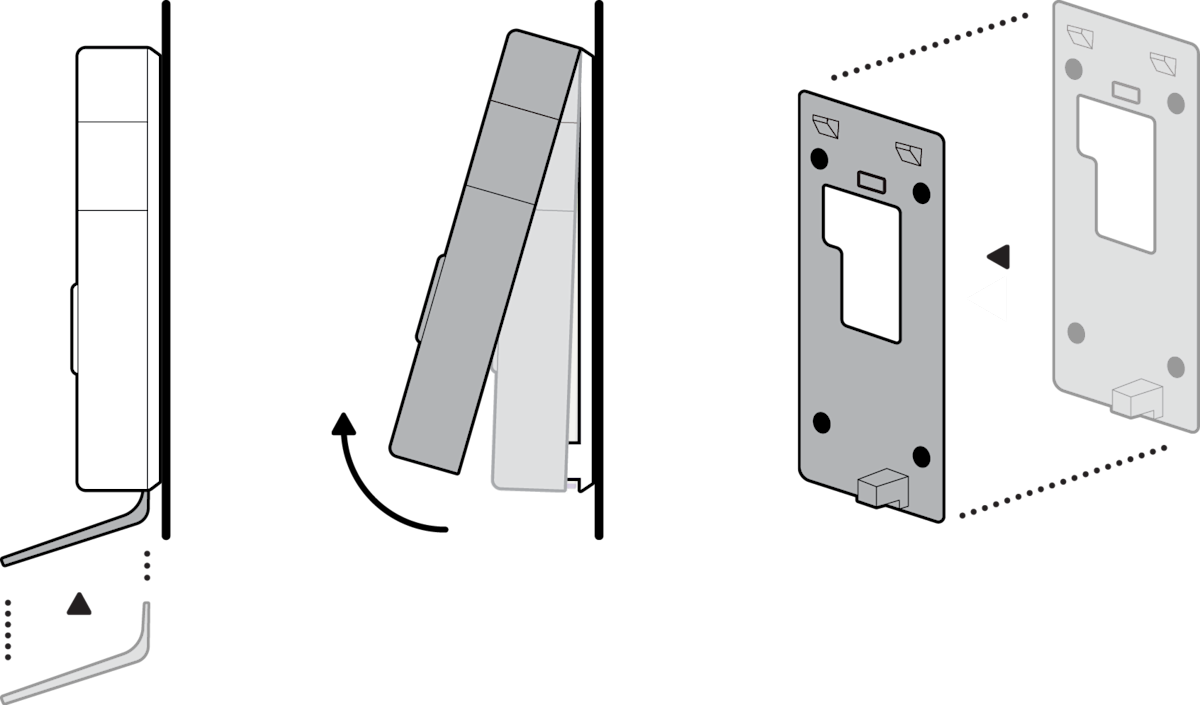
3. Install your solar charger.
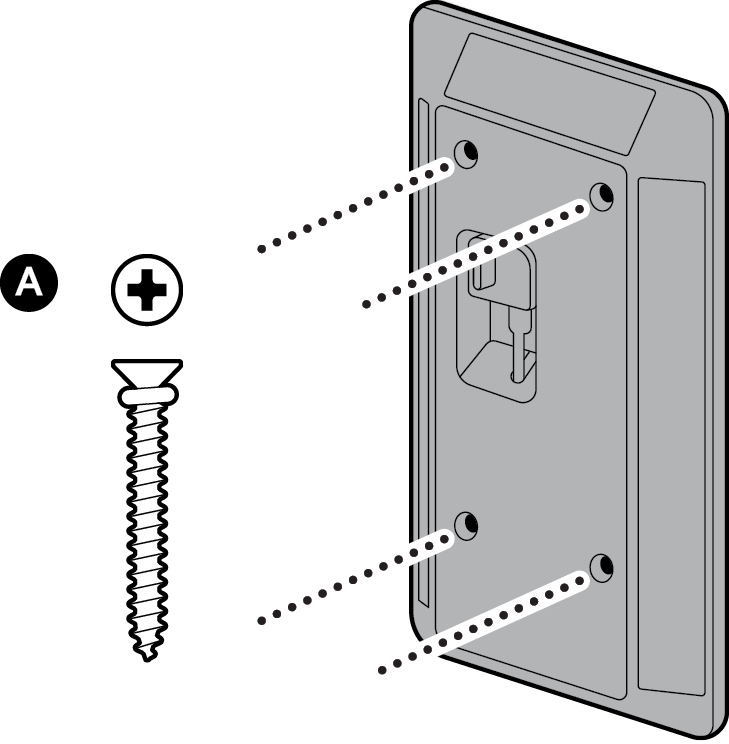
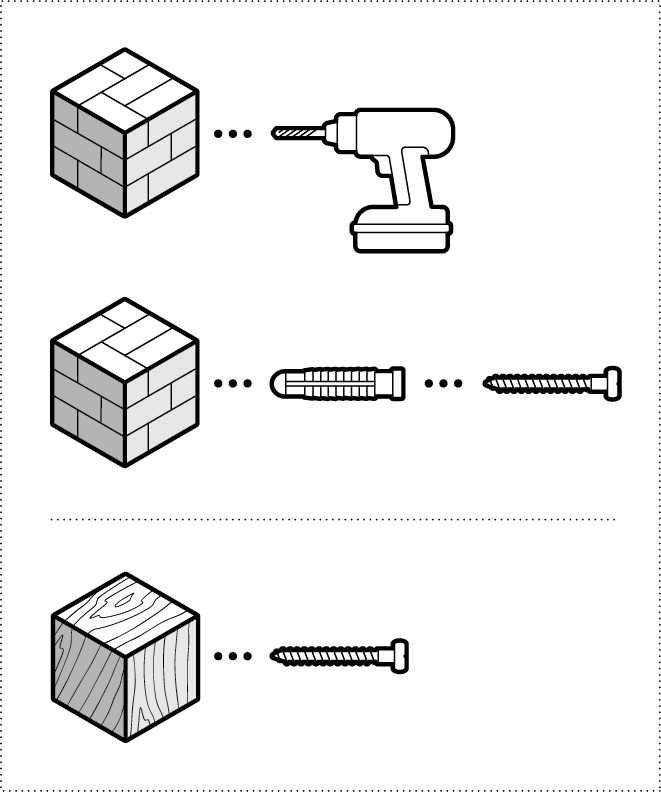
On stucco, brick, or concrete, use a 0.25 in (6 mm) masonry bit to drill holes for the included wall anchors.
4. Optional: Install a wedge or corner kit using its included screws.

5. Install your doorbell’s mounting bracket.
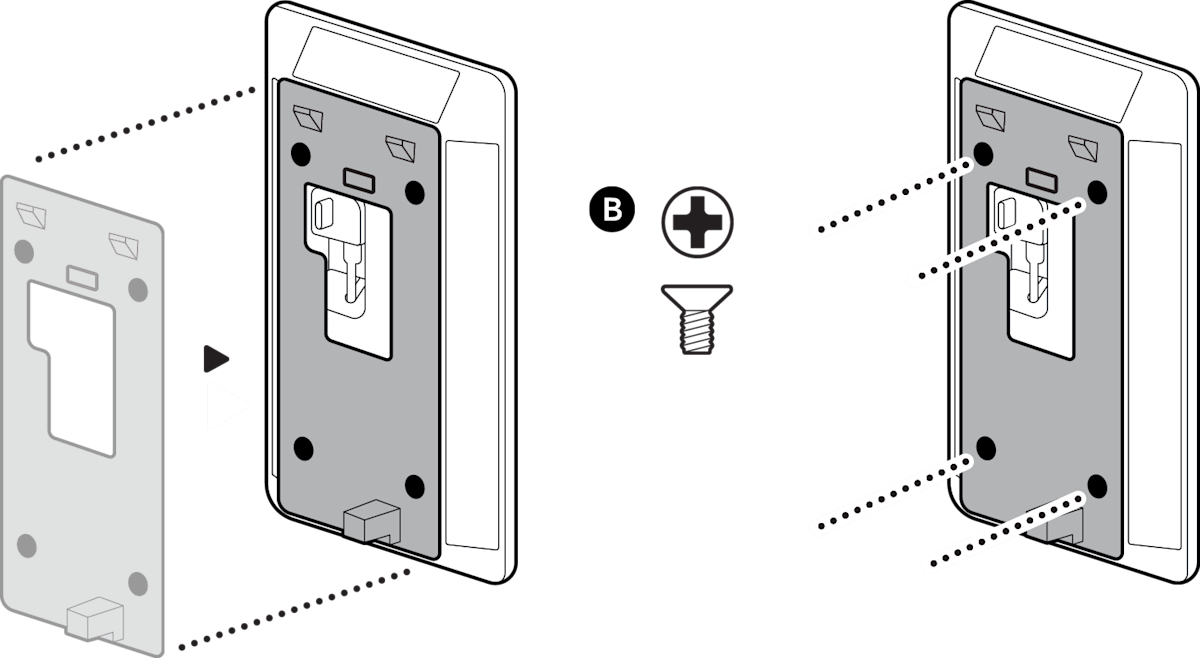
6. Plug in your doorbell.
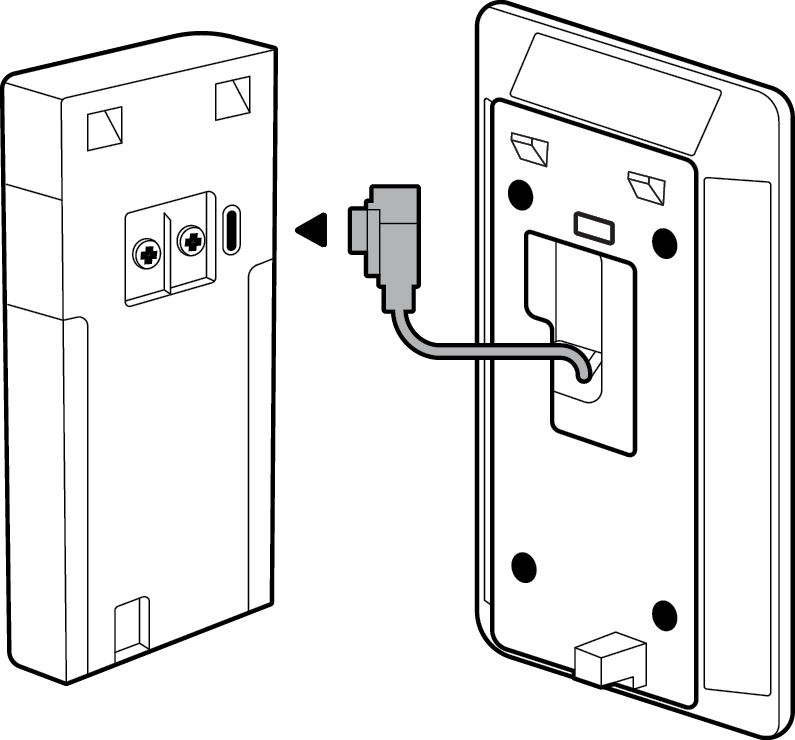
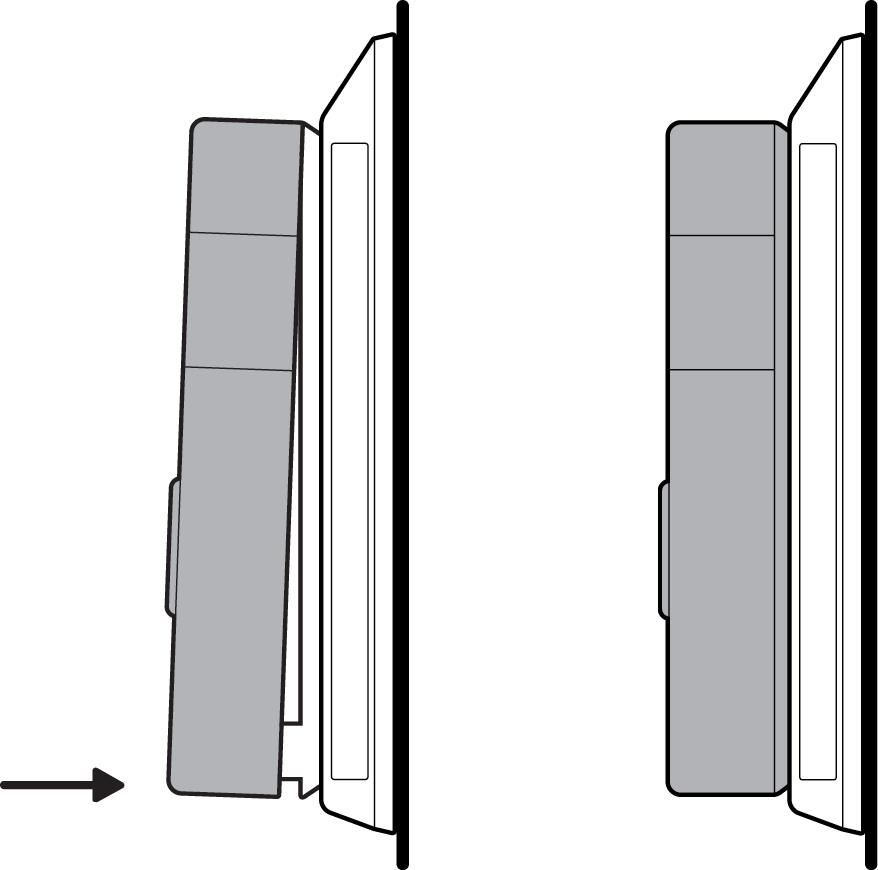
7. Attach your doorbell to the mounting bracket.
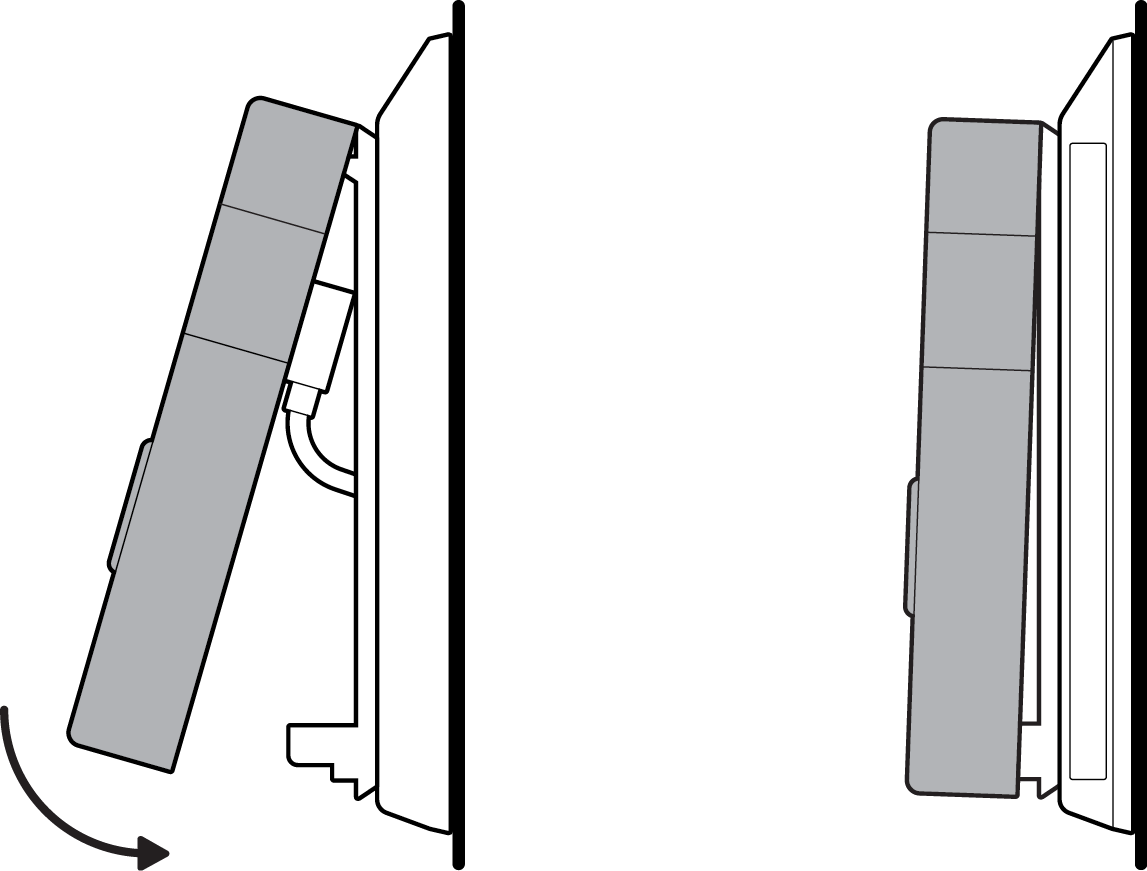
8. Press until you hear a click to secure.
