Installing Stake Mount for Solar Panels and Cameras
Learn how to install Stake Mount for Solar Panels and Cameras use by following these steps.
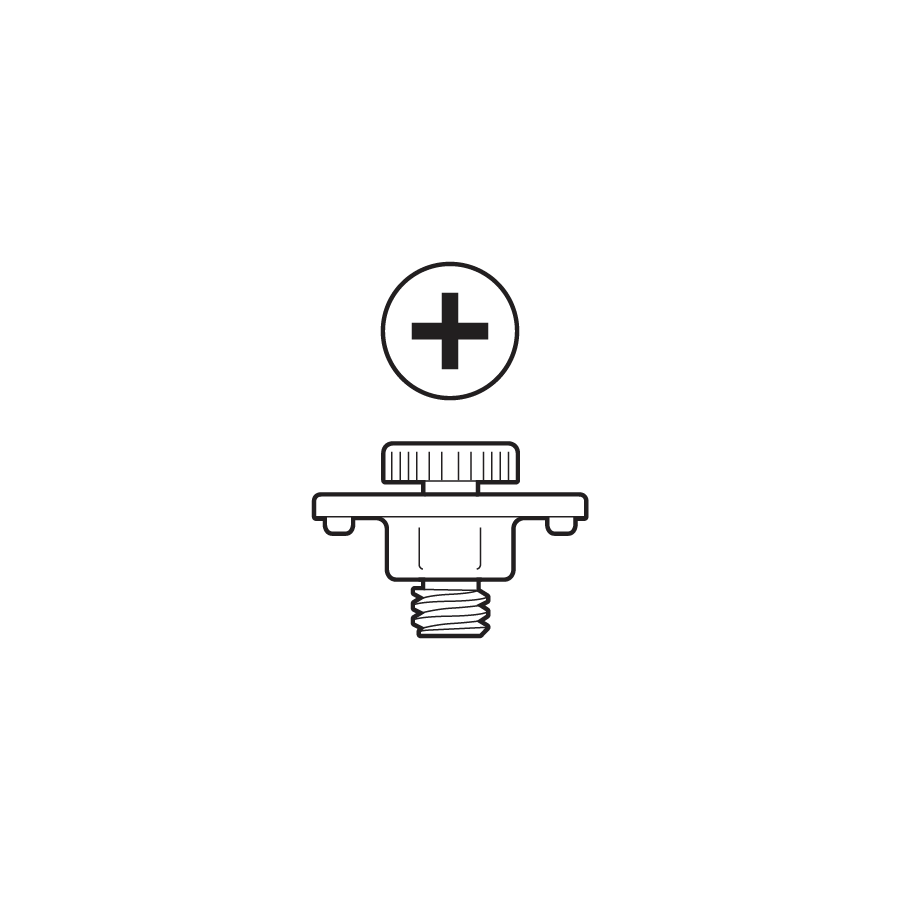
Hardware included
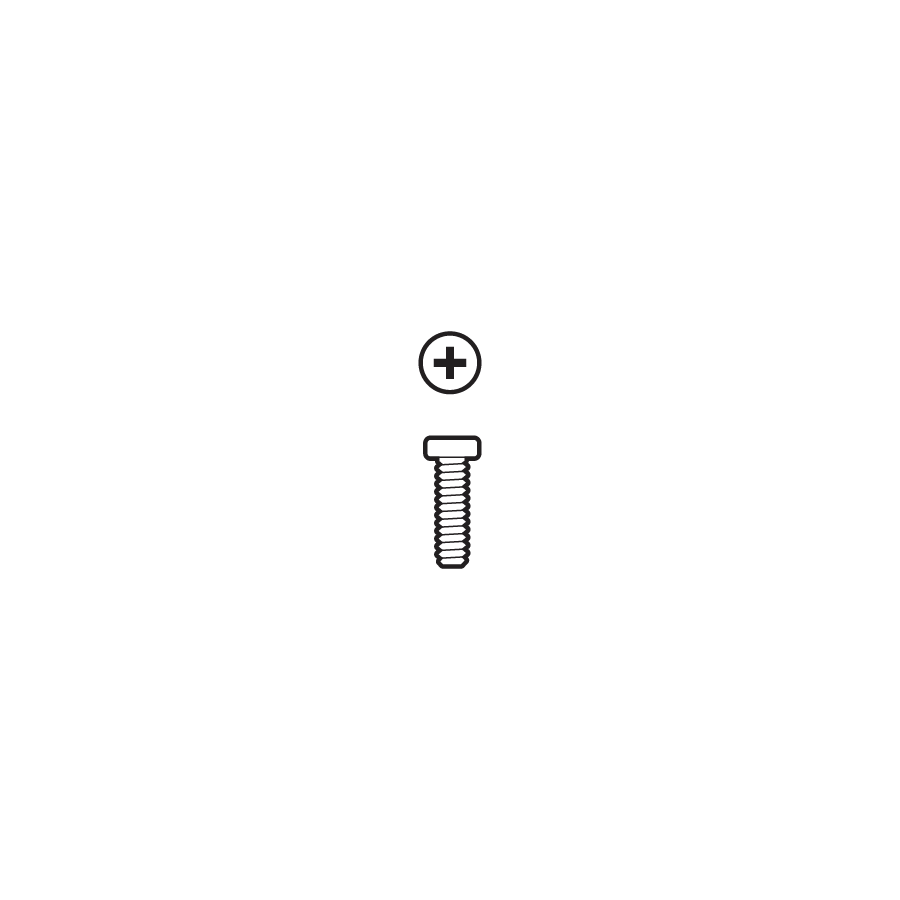
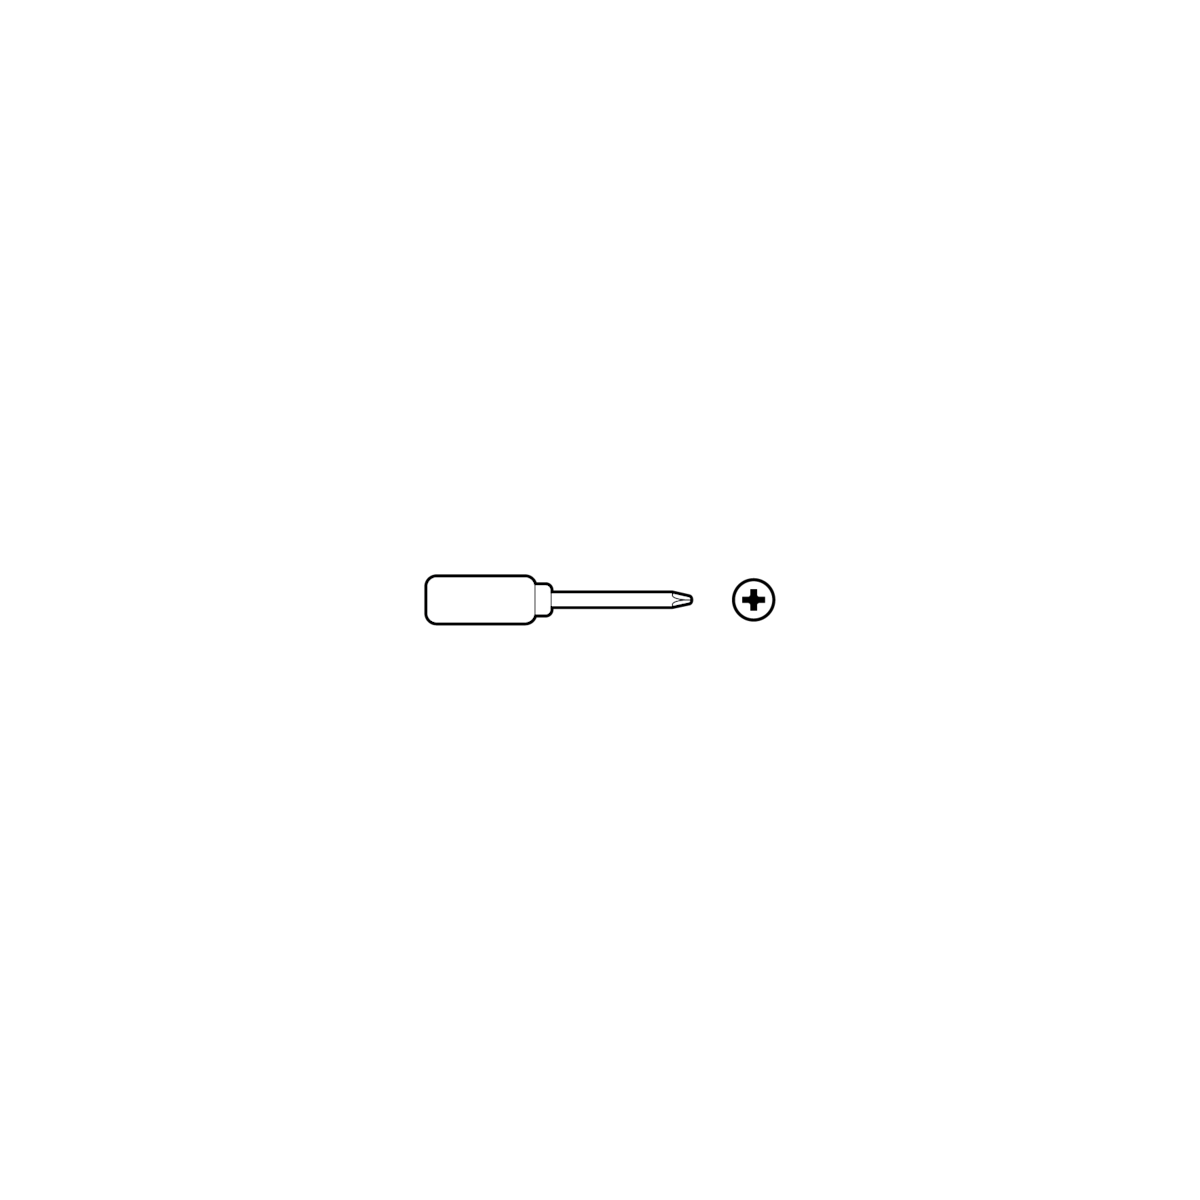
Tools needed
Installation
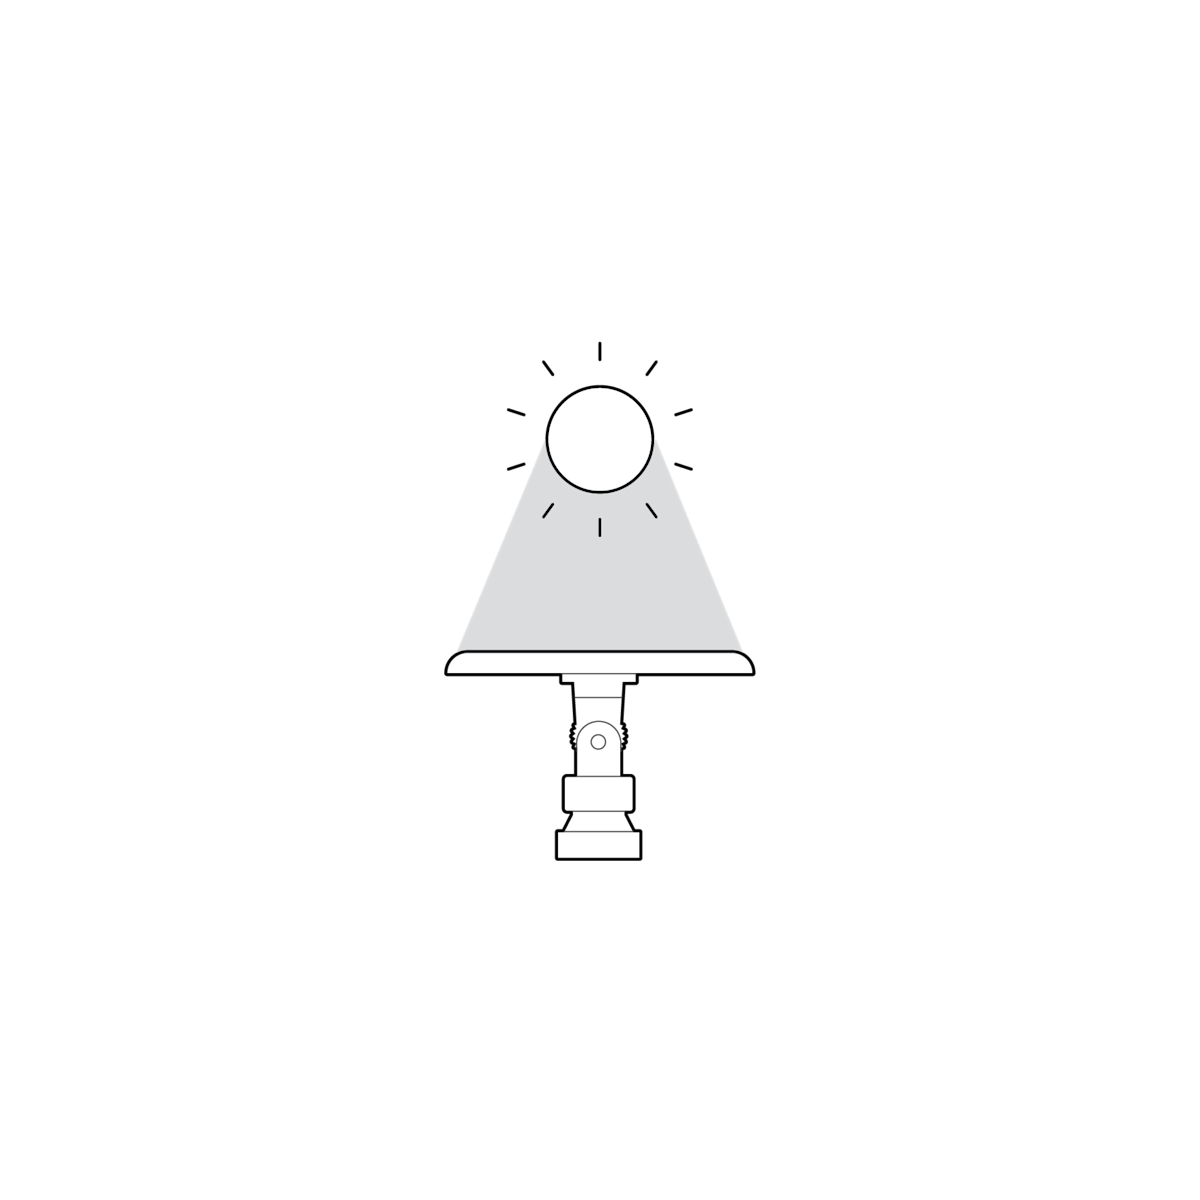
Choose a location.
If installing a solar panel, ensure the mount is positioned under direct sunlight.
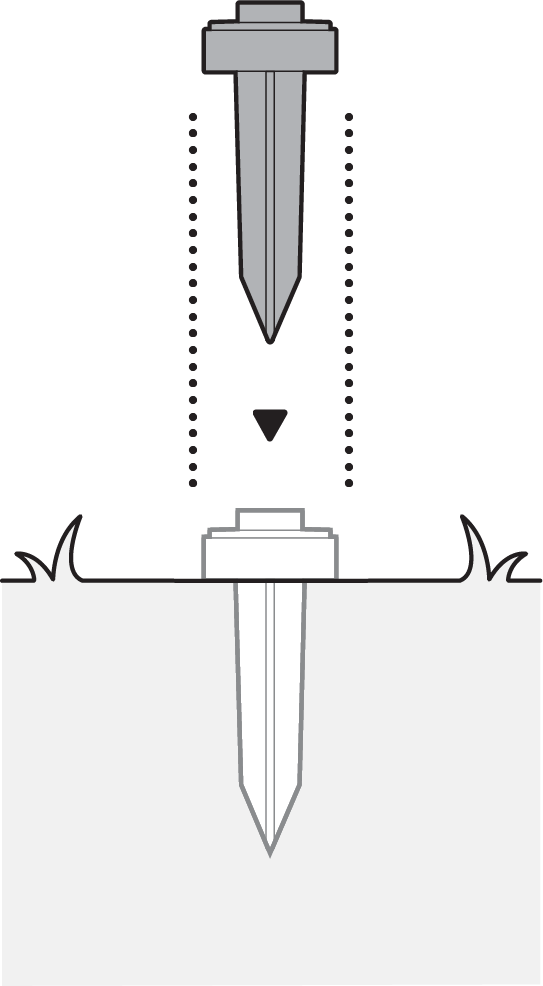
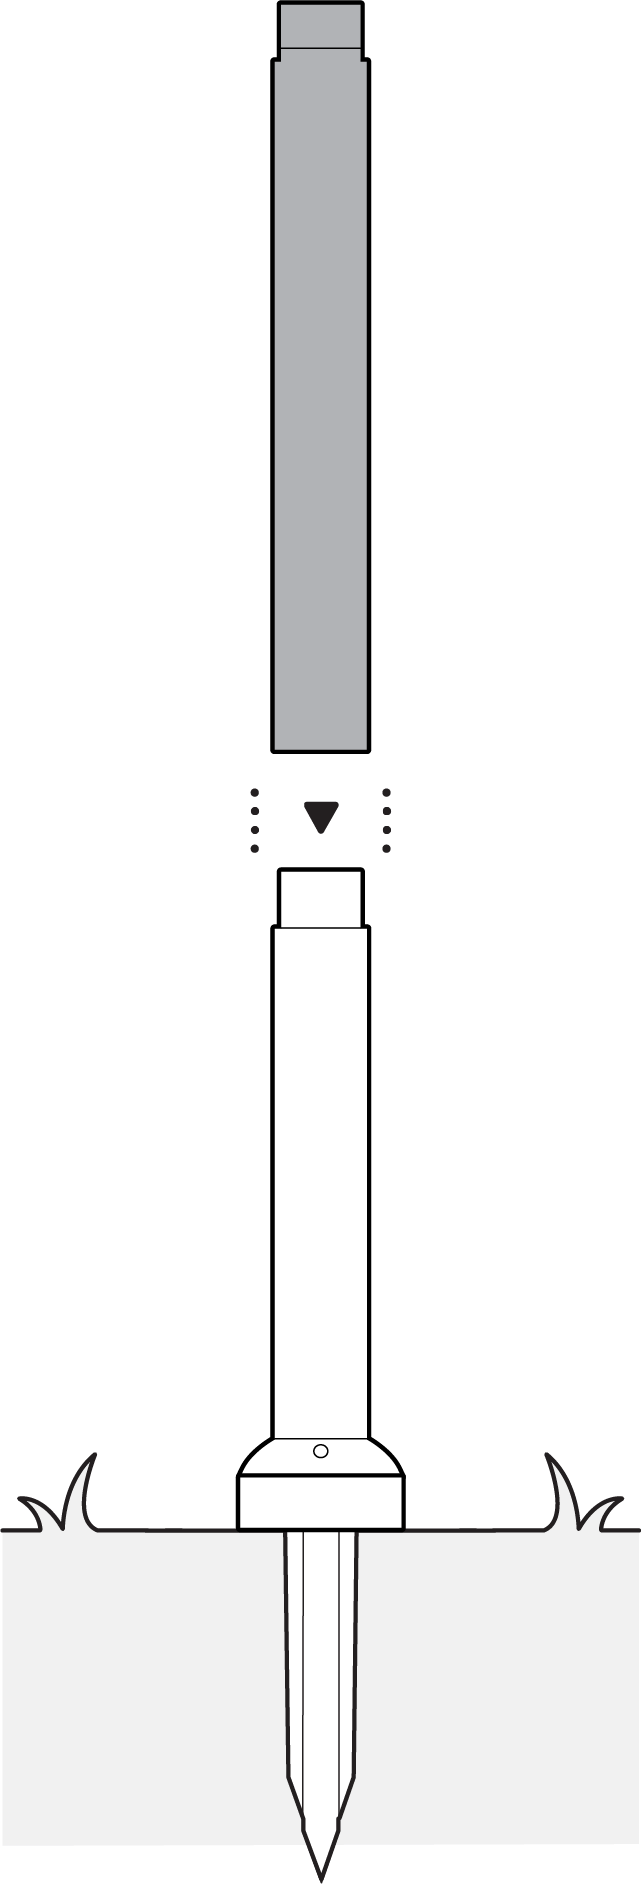
1. Drive the spike into the ground.
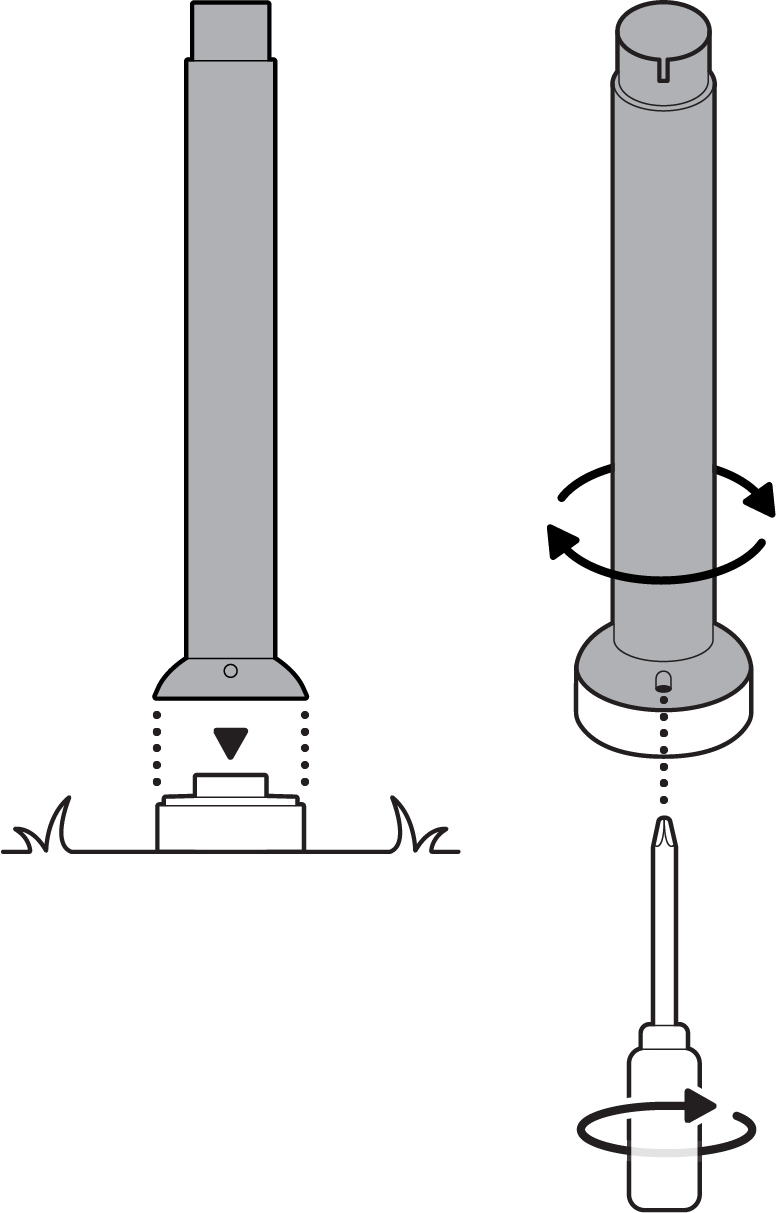
2. Rotate the base pole to lock and tighten with a screw.
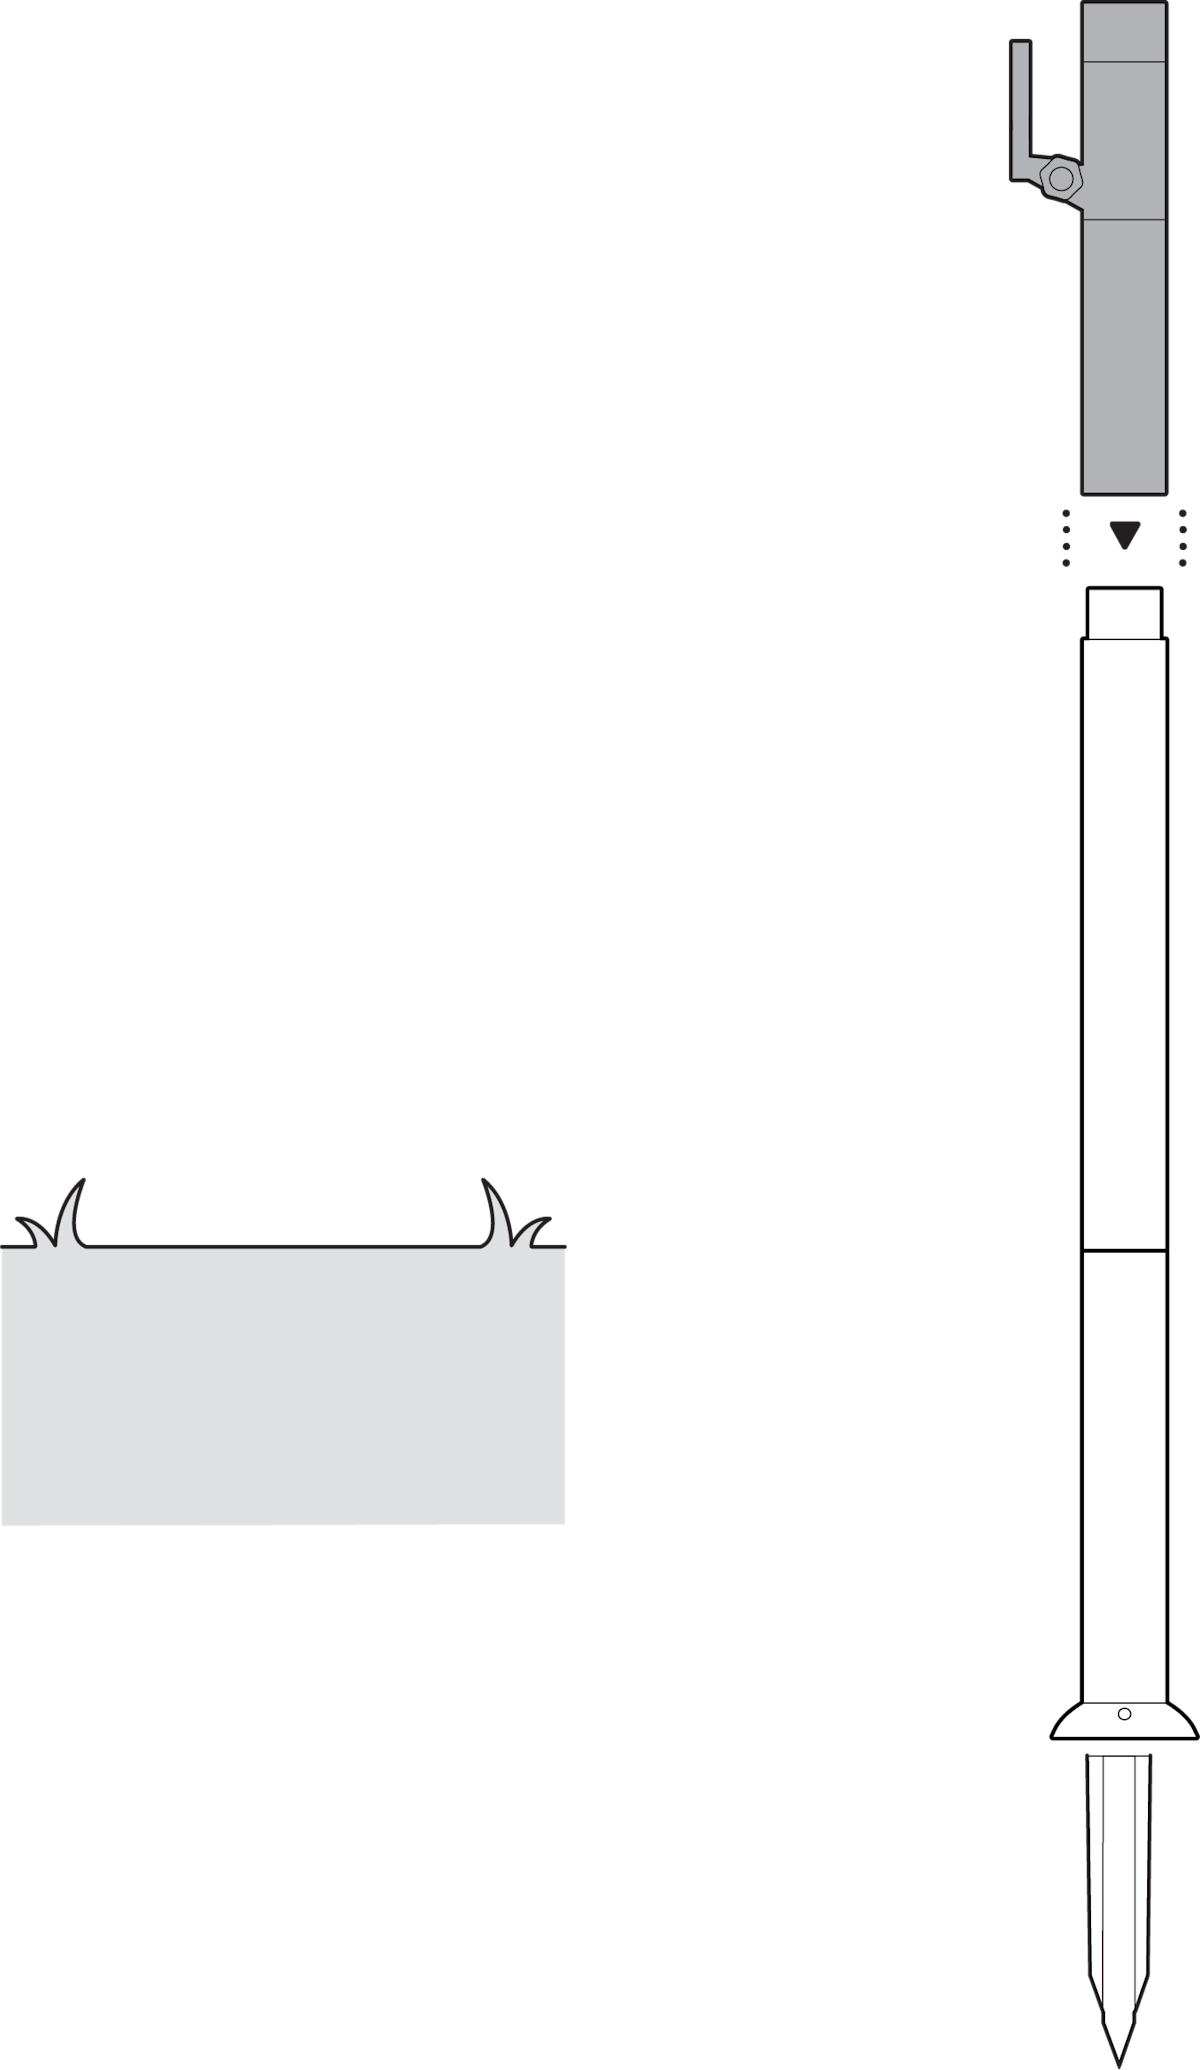
3. Connect the center pole.
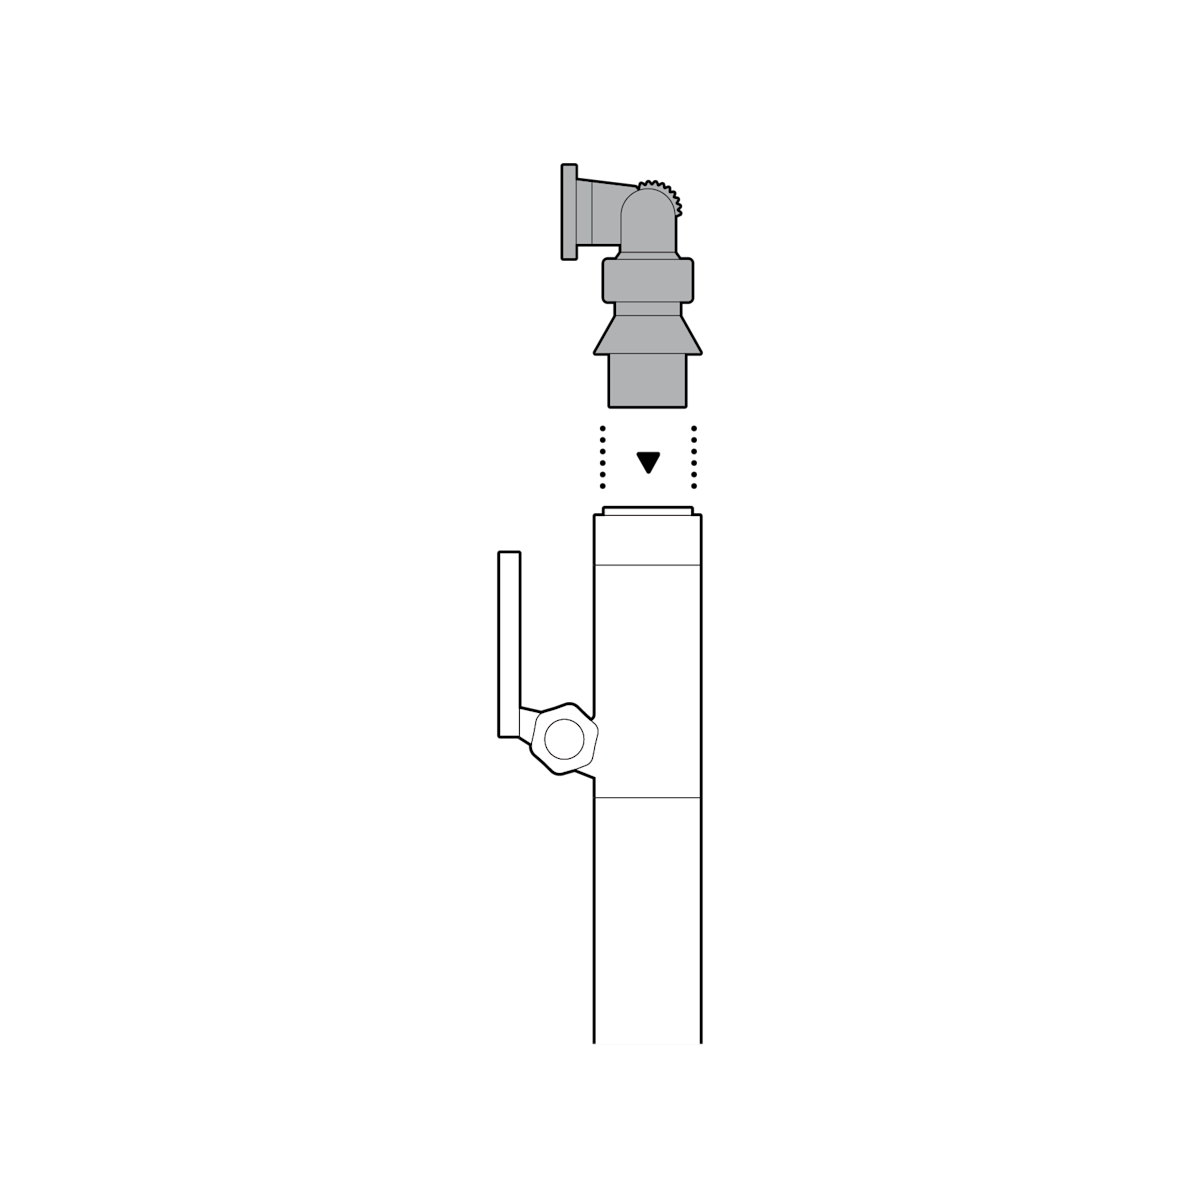
4. Connect the camera mount pole.
Solar Panel
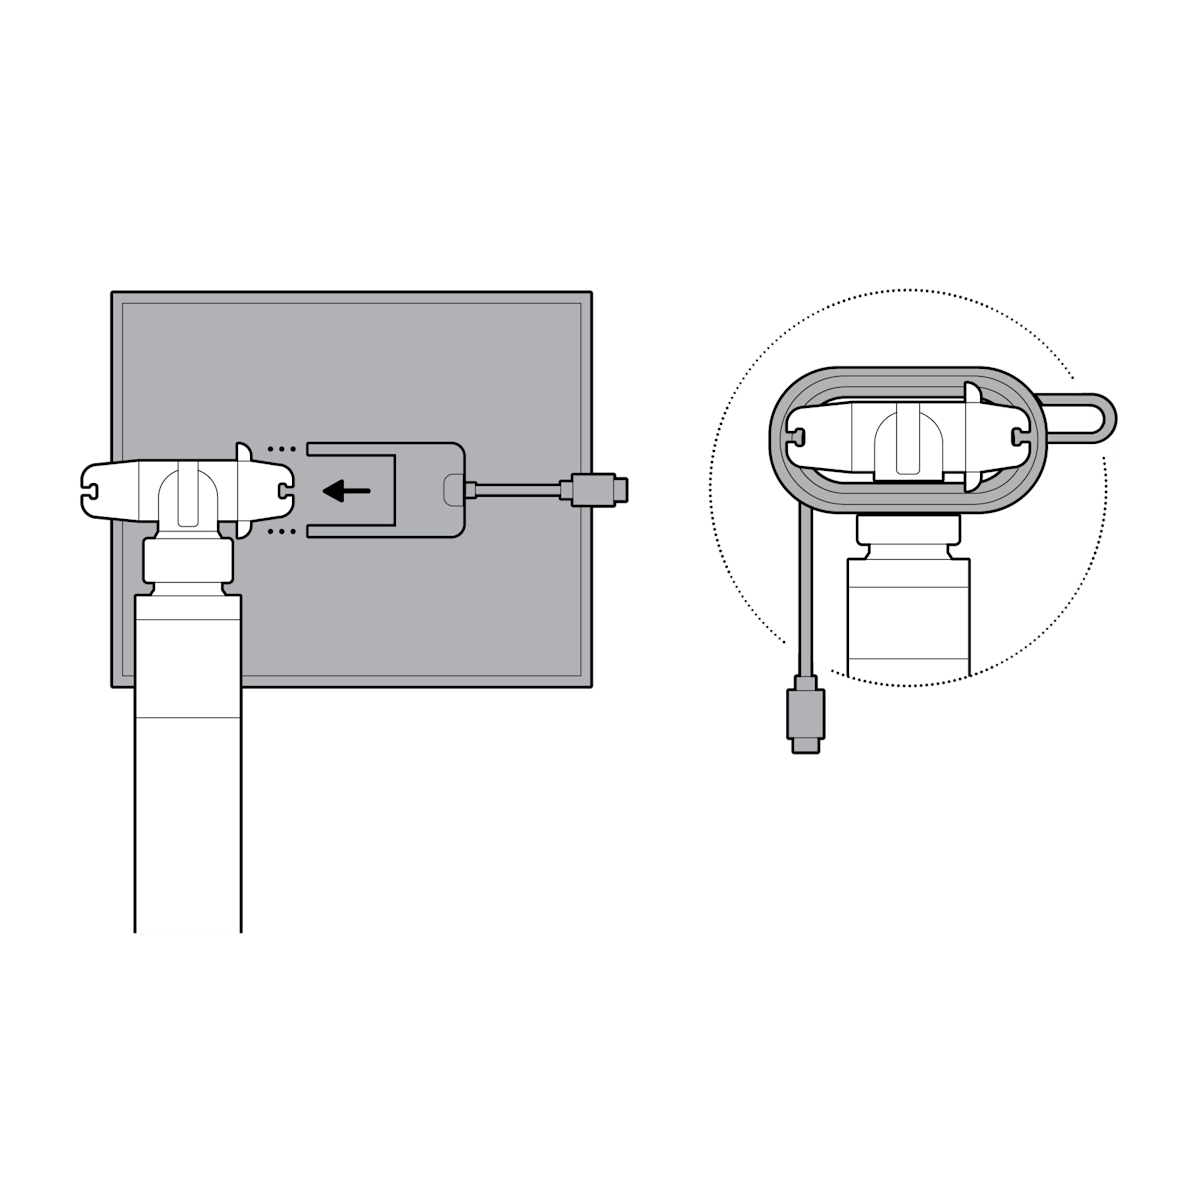
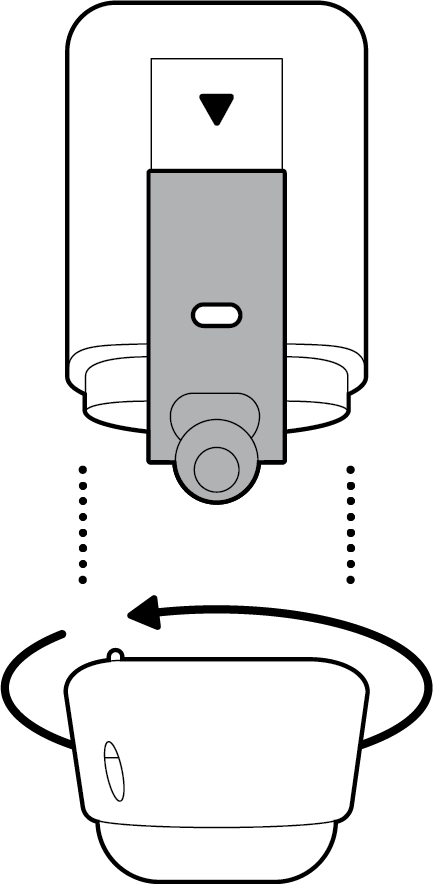
1. Attach the solar panel mount.
2. Slide your solar panel into place and wind the cable underneath, leaving enough length to connect to your camera.
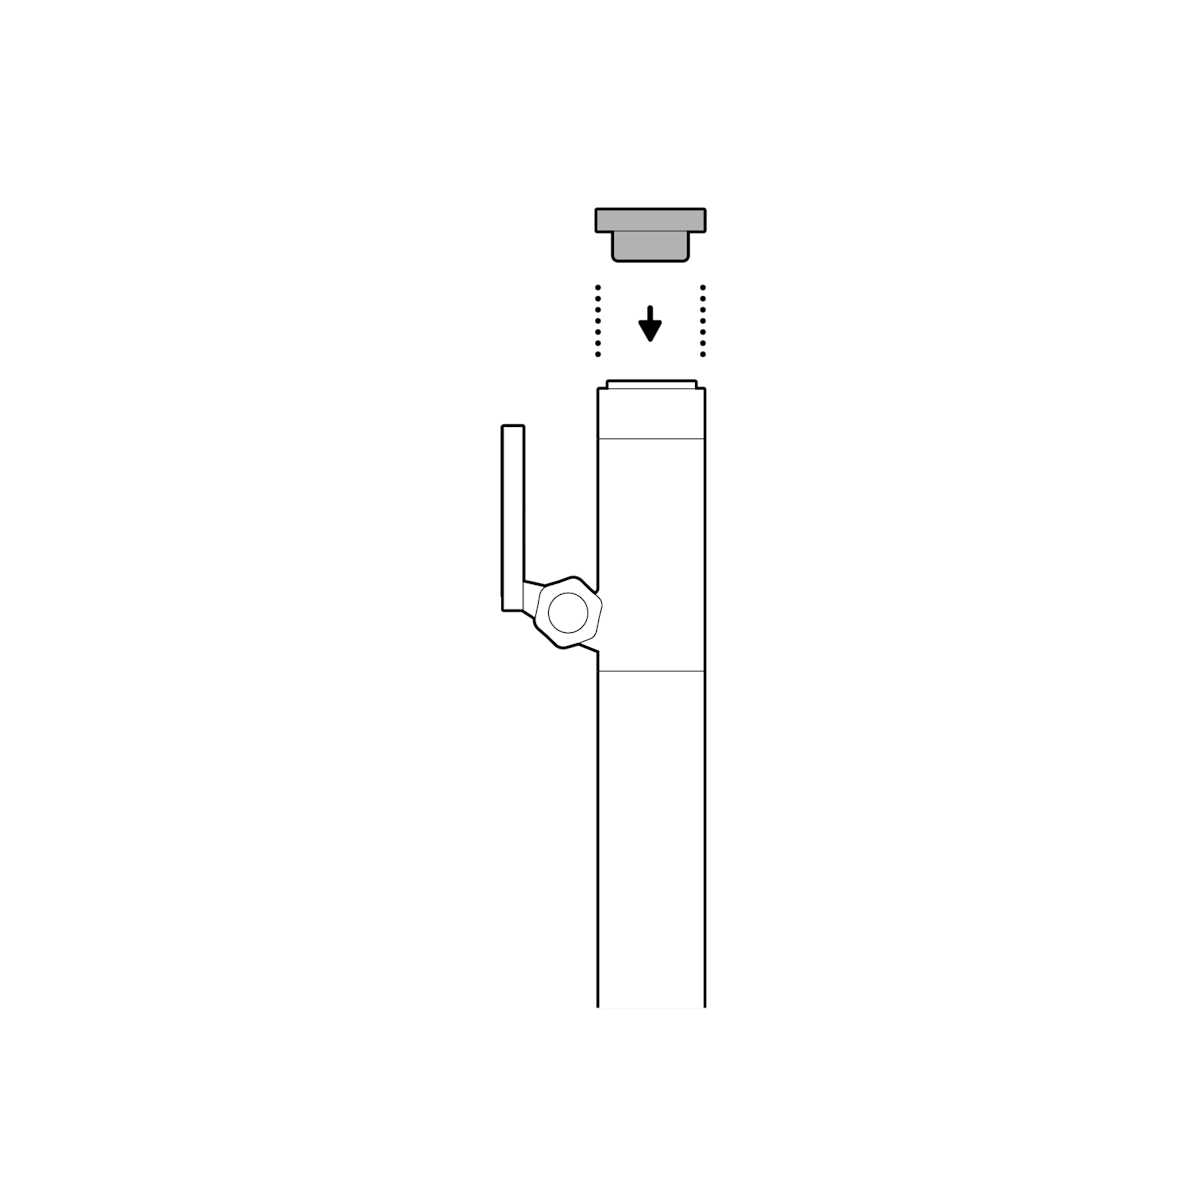
(Optional) If installing without solar panel, cover with a cap.
Outdoor Cam Plus
1. Unclasp the camera mount.

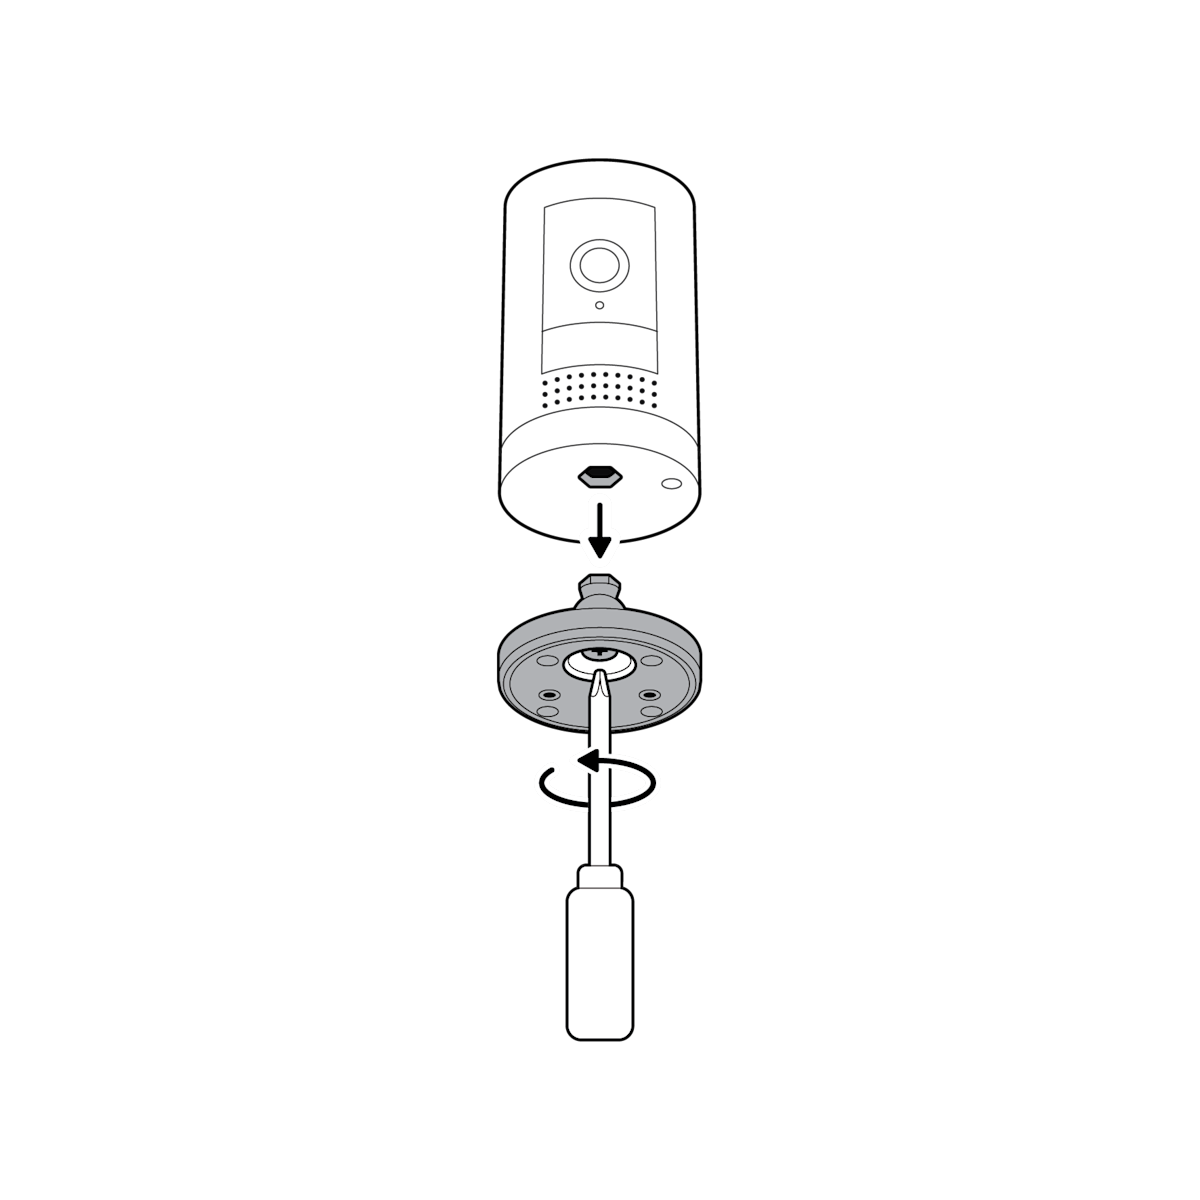
2. Unscrew to detach the camera mount from the battery cover.

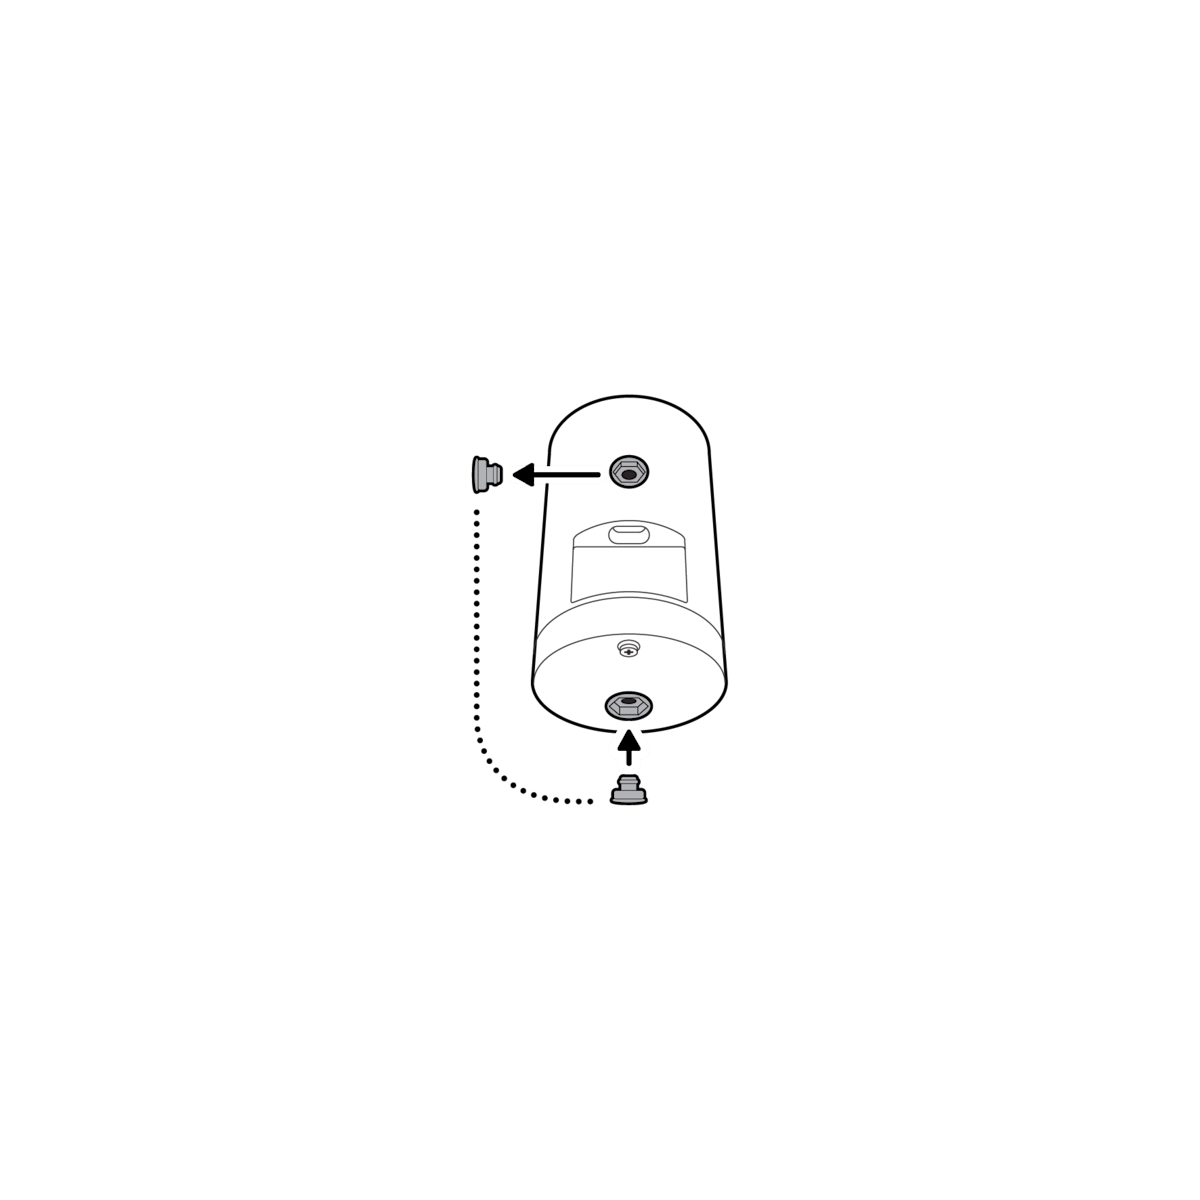
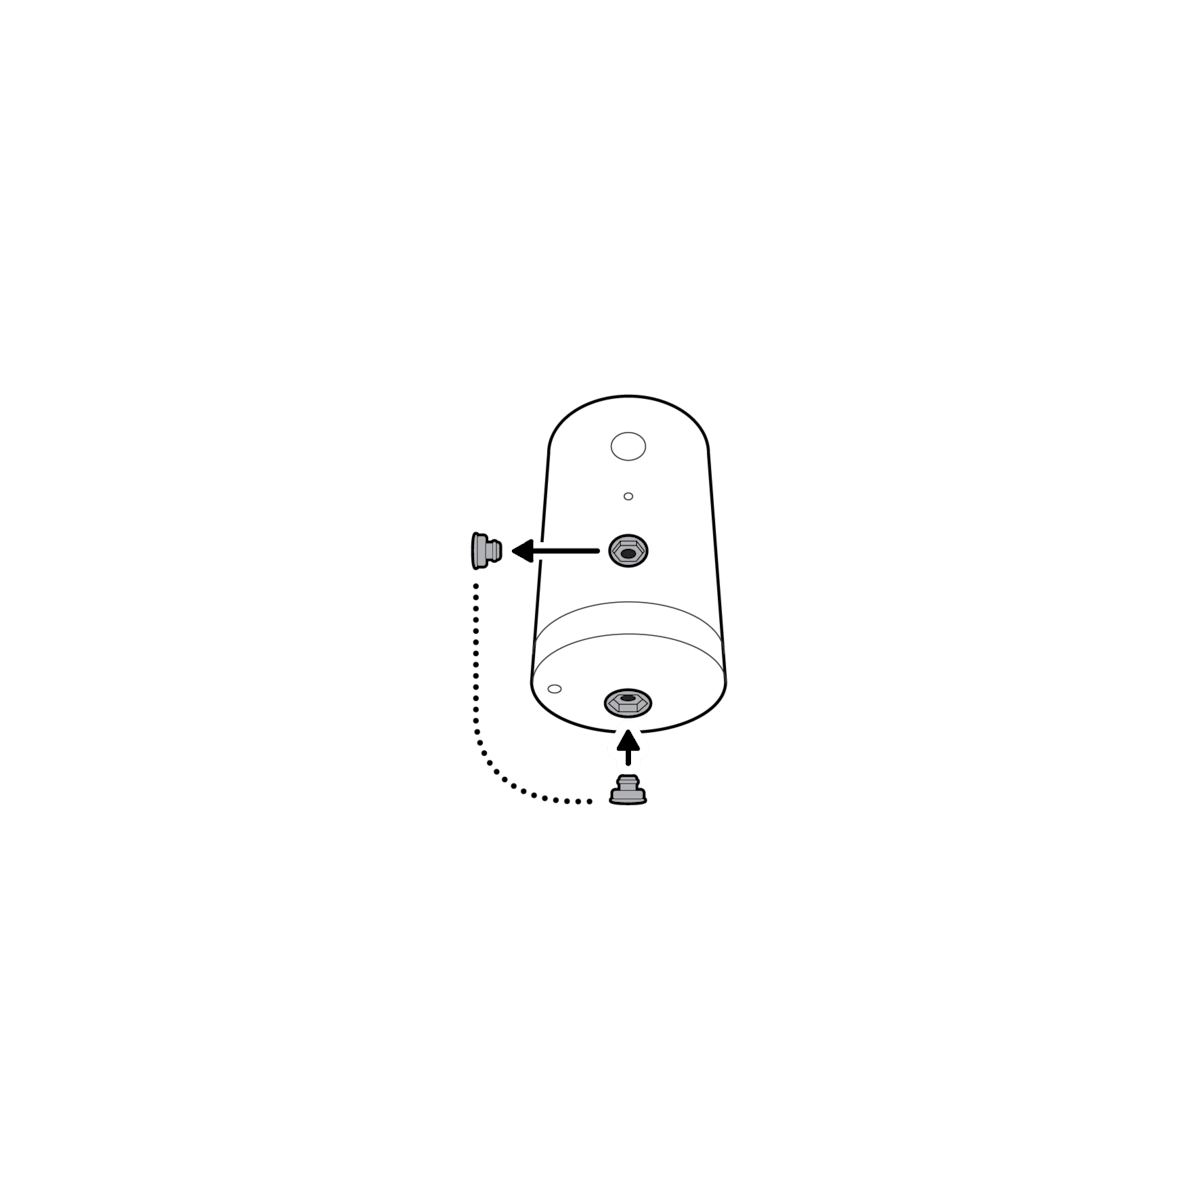
3. Remove the rubber cap on the back of your camera and use it to plug the bottom.
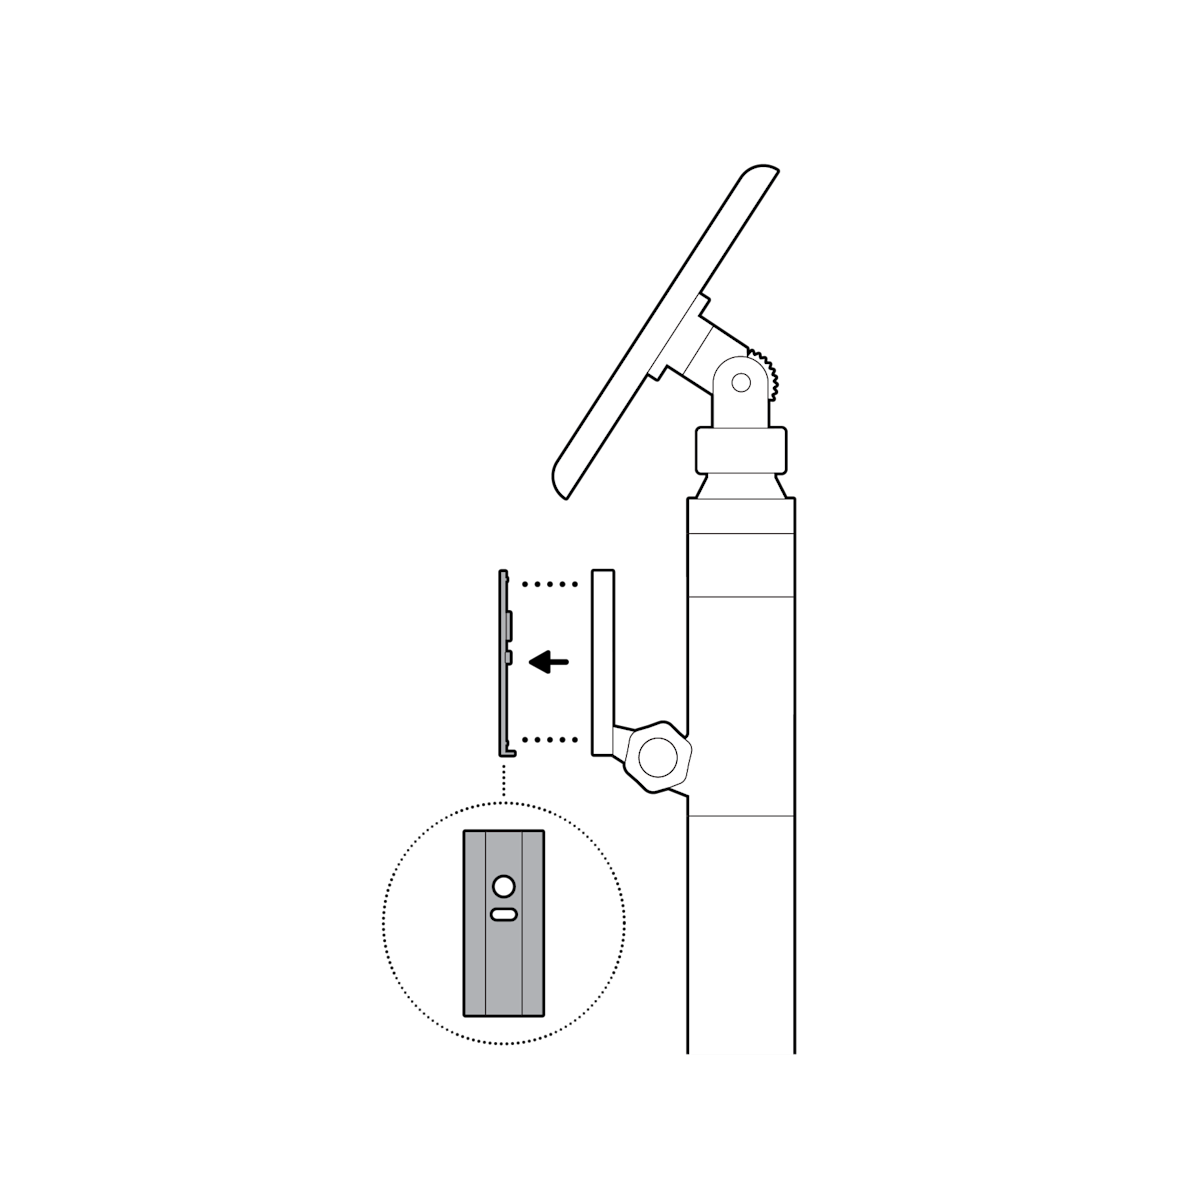
4. Remove the wired mount arm plate adapter.

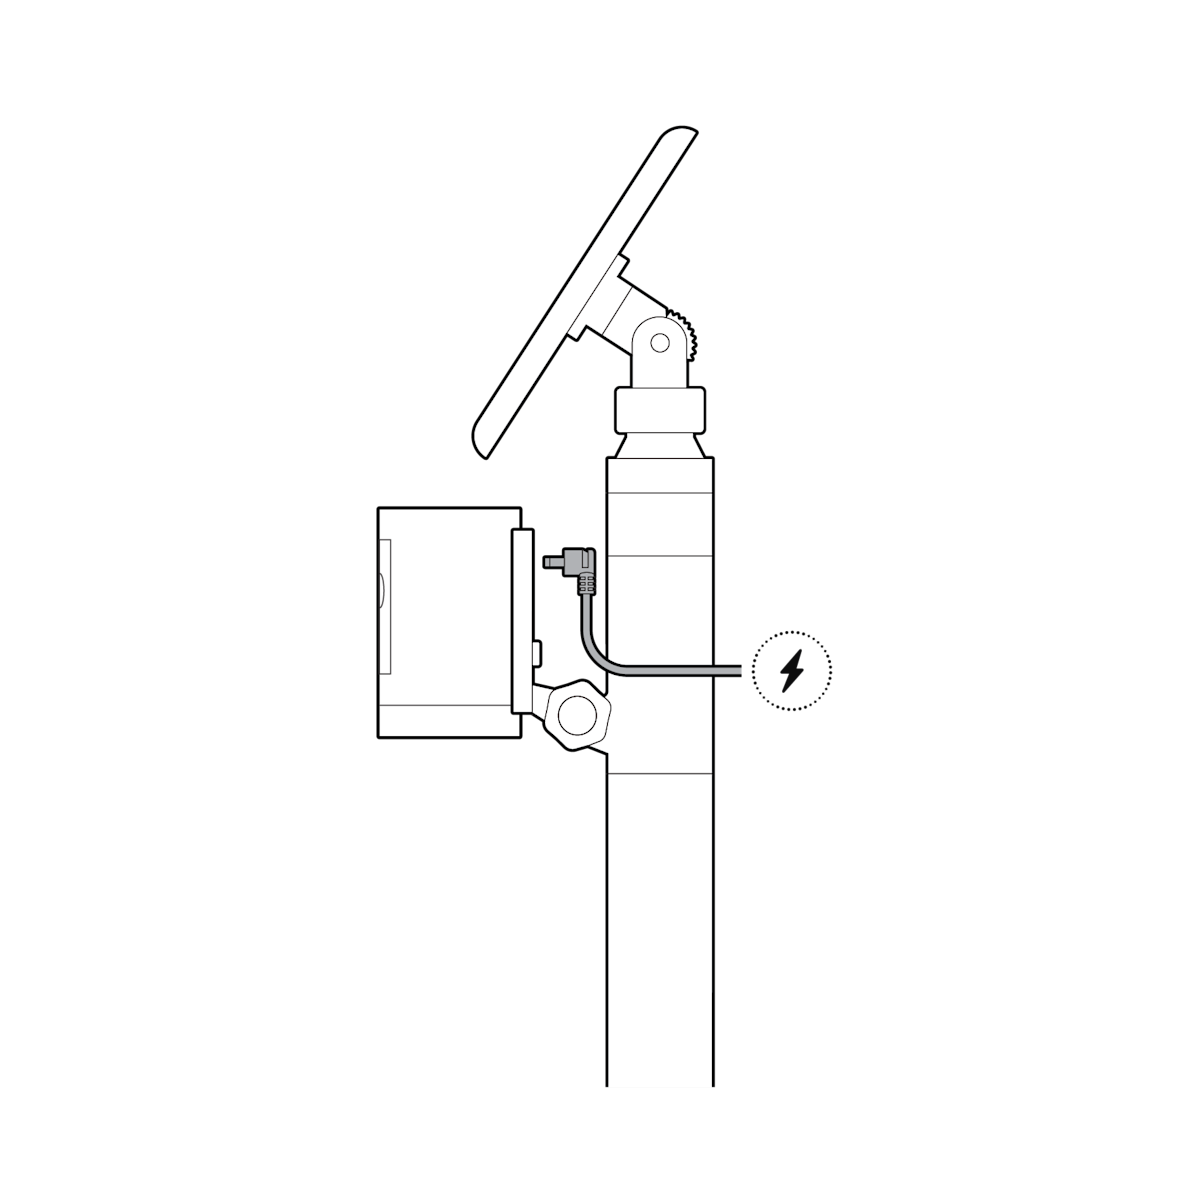
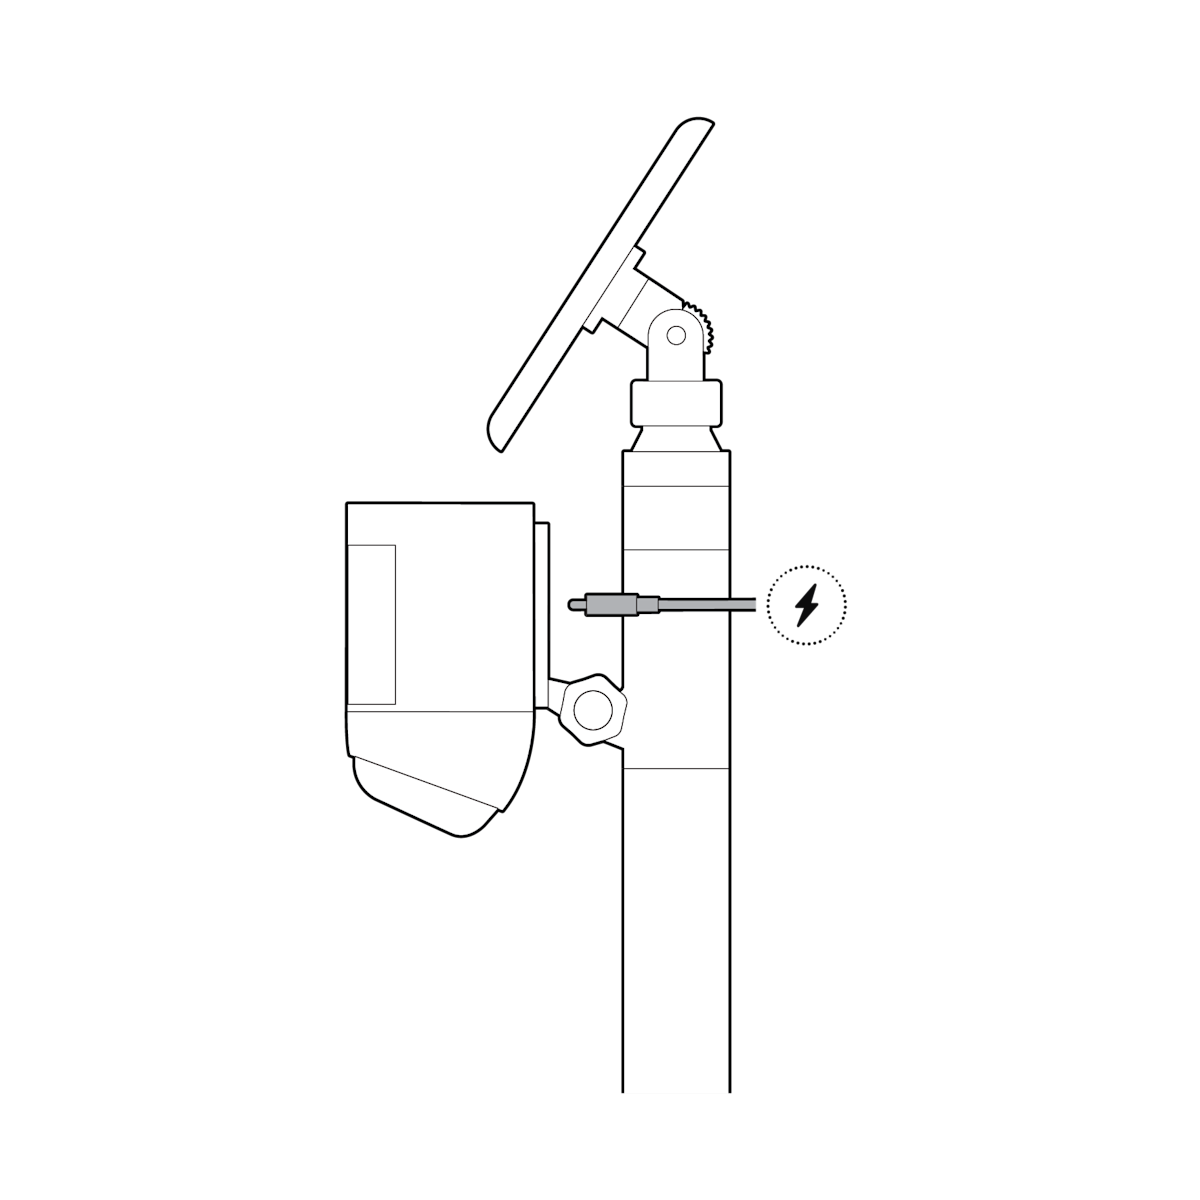
5. Plug in the power cable.

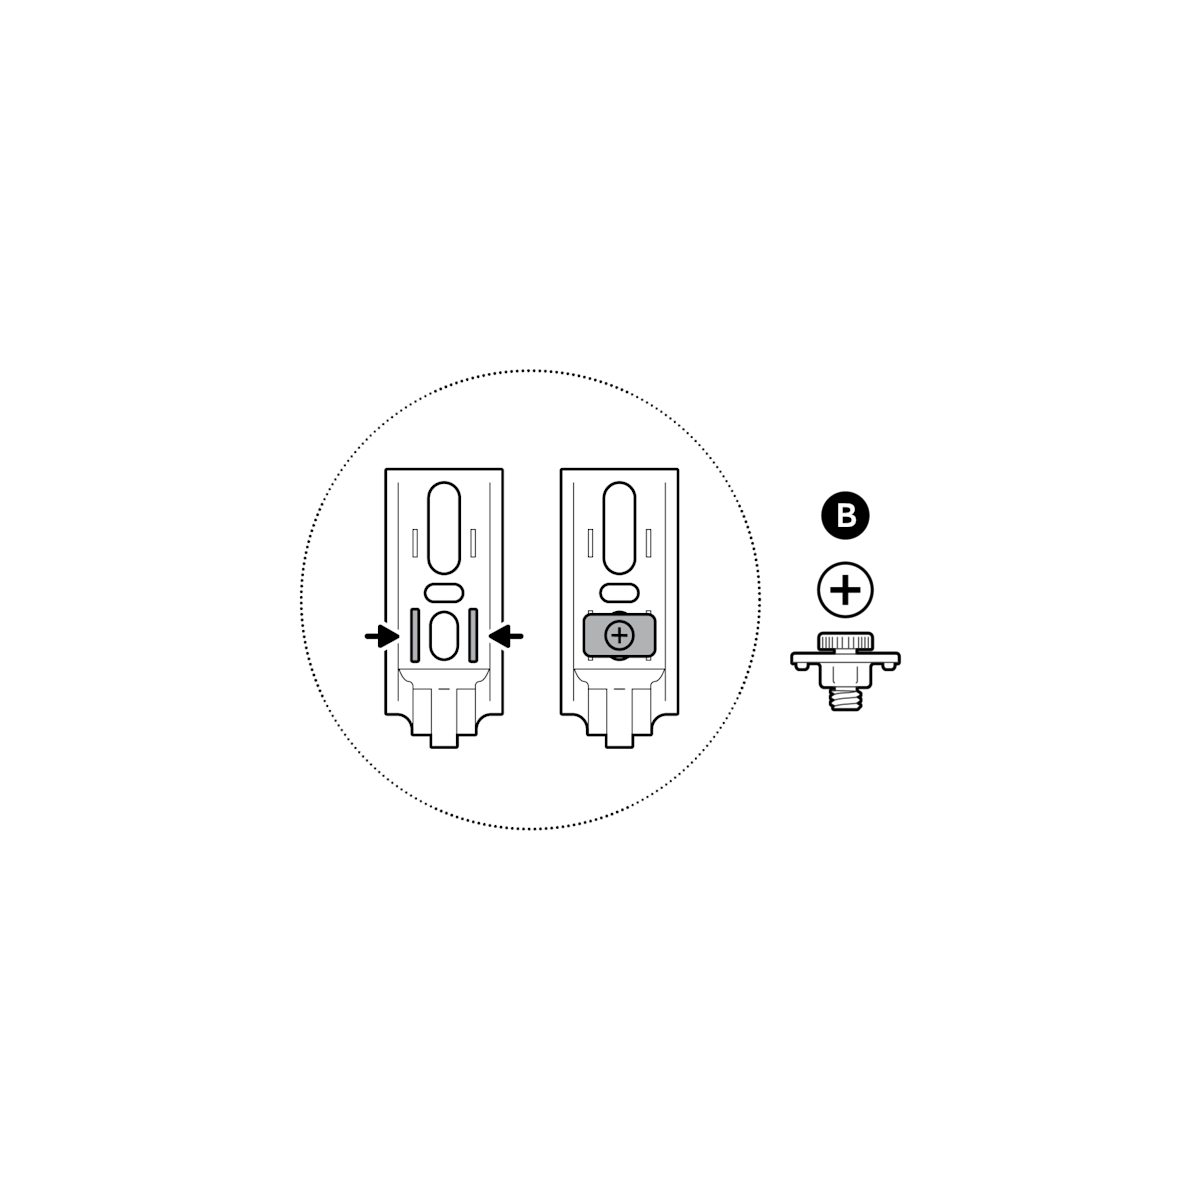
6. Using the top oval slot, secure your camera with the included hand screw.
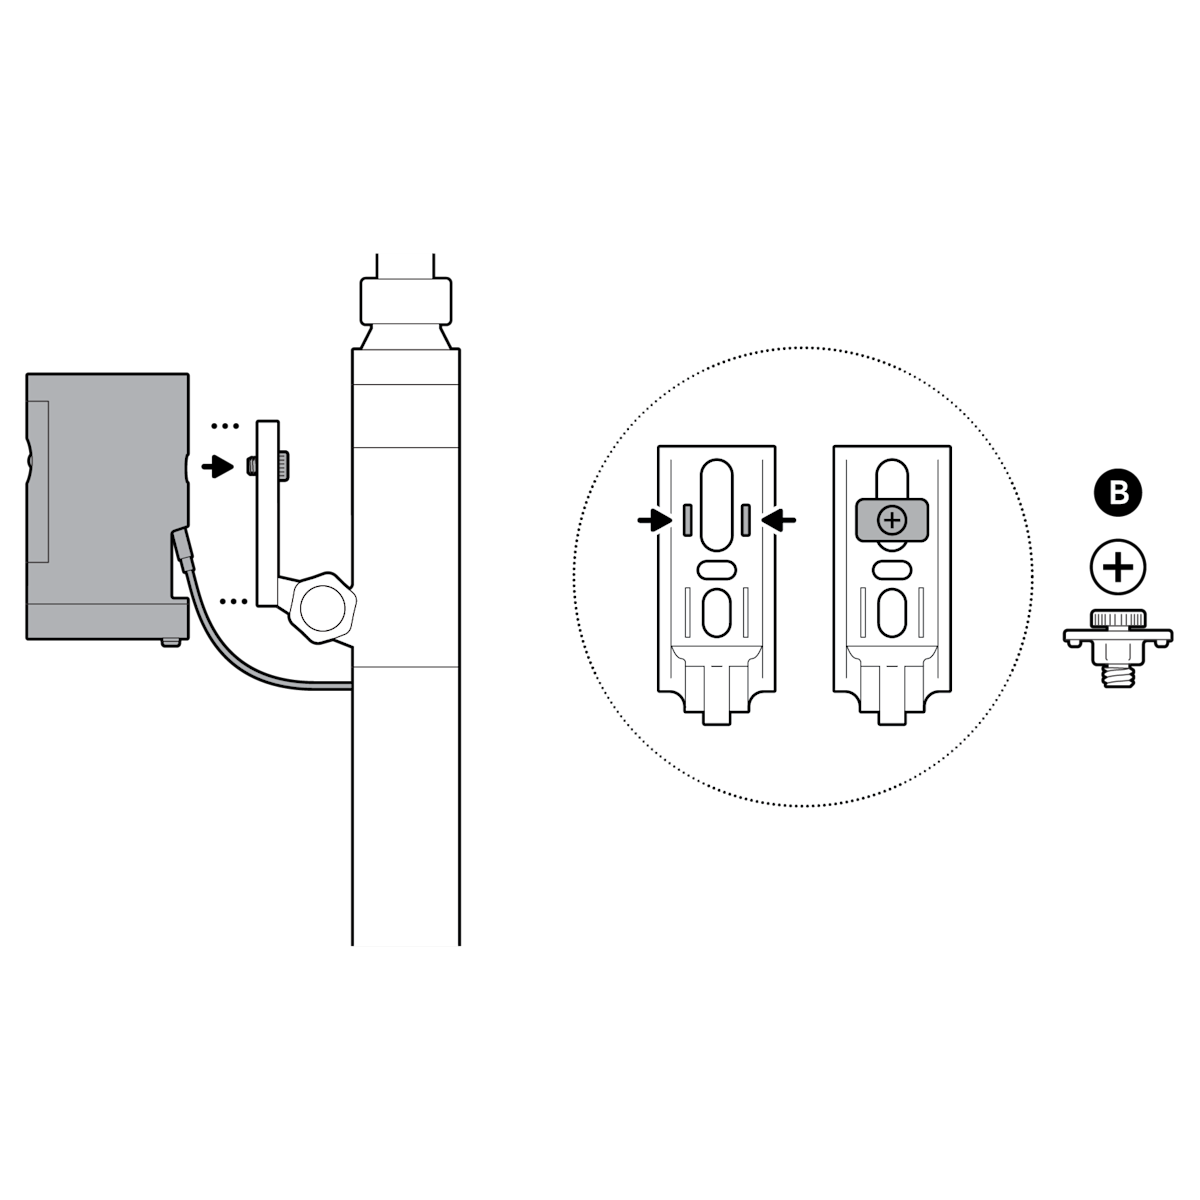
NOTE: For best results, align the side edges of the hand screw with the indented tracks on the back of your mount arm plate.
Outdoor Cam (formerly Stick Up Cam (3rd Gen))
1. Unscrew to detach the camera mount from the battery cover.
2. Remove the rubber cap on the back of your camera and use it to plug the bottom.
3. Remove the wired mount arm plate adapter.
4. Using the bottom oval slot, secure your camera with the included hand screw.

5. NOTE: For best results, align the side edges of the hand screw with the indented tracks on the back of your mount arm plate.
6. Plug in the power cable.
Spotlight Cam
1. Remove the camera backplate.
2. Slide onto the camera mount.

3. Plug in the power cable.
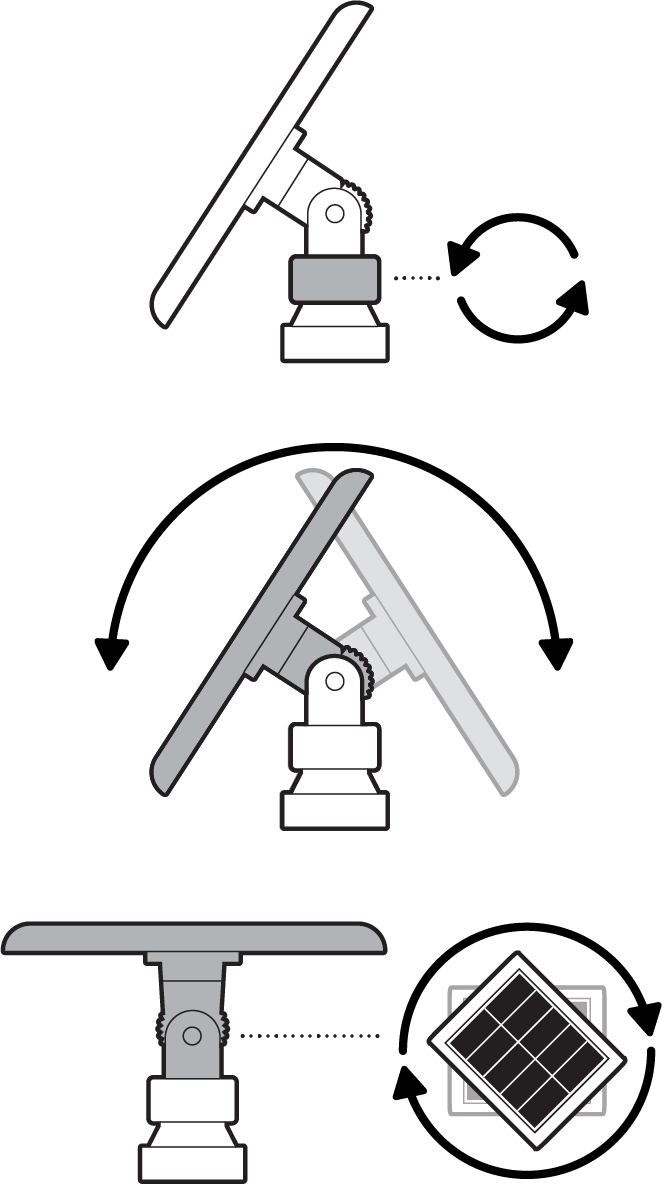
Adjusting your mount
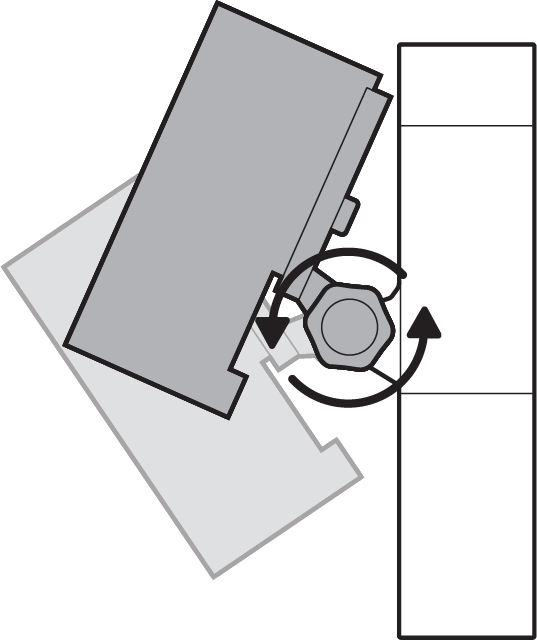
Loosen the knob to adjust camera angle, then tighten to secure.
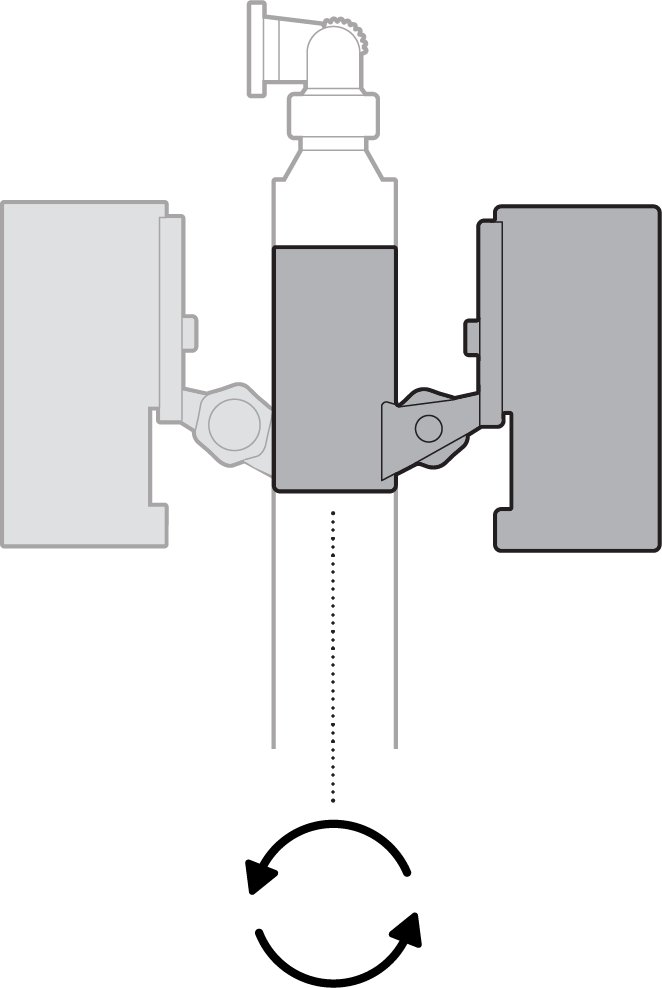
Rotate the camera mount pole 360 degrees.
Loosen ring to tilt or rotate solar panel mount, then tighten to secure.