
Installing Pan-Tilt Indoor Cam
Physically install your Pan-Tilt Indoor Cam with this step-by-step guide.
Hardware included

Tools needed


- Download the Ring app.
- Scan the QR code on your device.
- Choose a location.
Flat installation
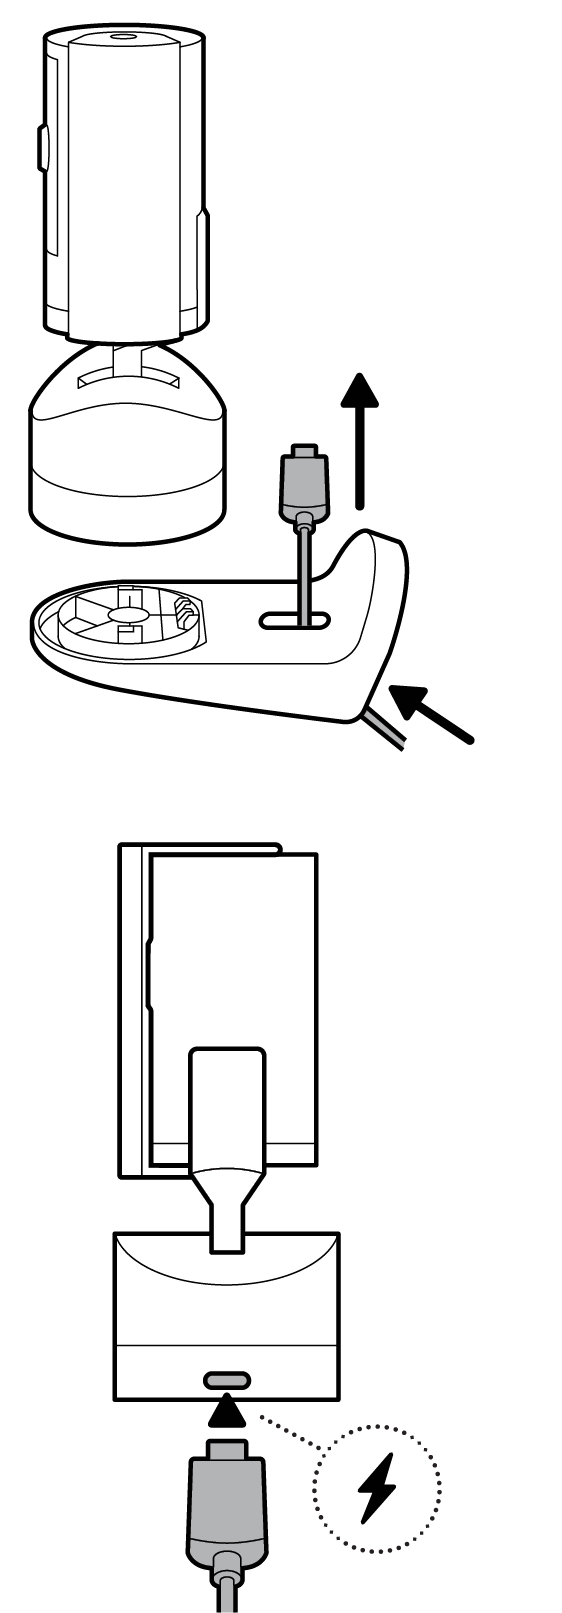
Place your camera on a level surface with 16.5 cm (6.5 inches) of space in every direction and plug in.

Wall installation
- Use the mounting plate as a guide to mark screw holes on the wall with 6.5 inches (16.5 cm) of space in every direction.

- Install the mounting plate with the UP arrow pointing up.


On stucco, brick, or concrete, use a 3/16 inch (5mm) masonry bit to drill holes for the included wall anchors.
- Run the power cable through the hole in the mounting bracket and plug in.
- Secure your camera to the mounting bracket by sliding until you feel a click.
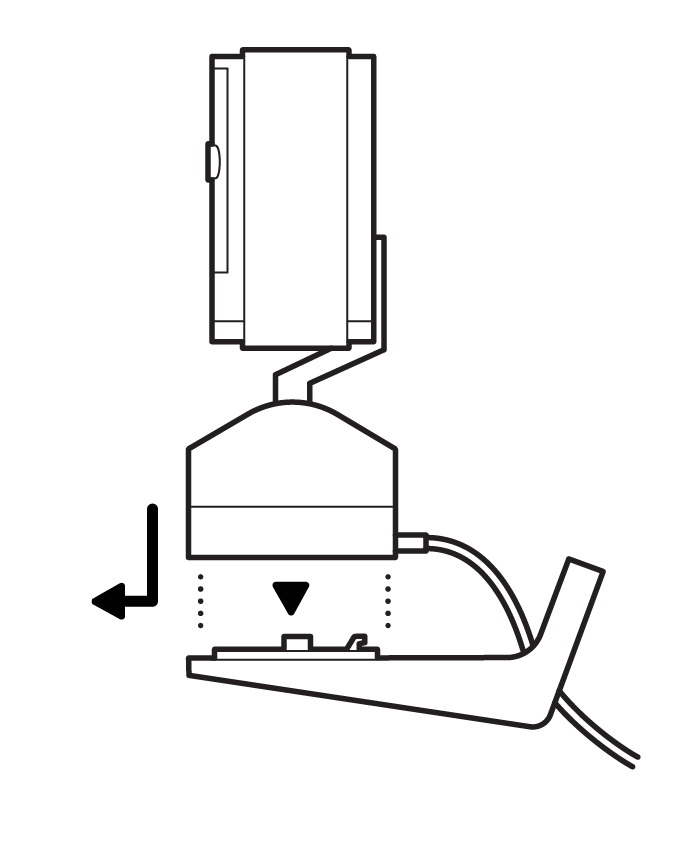
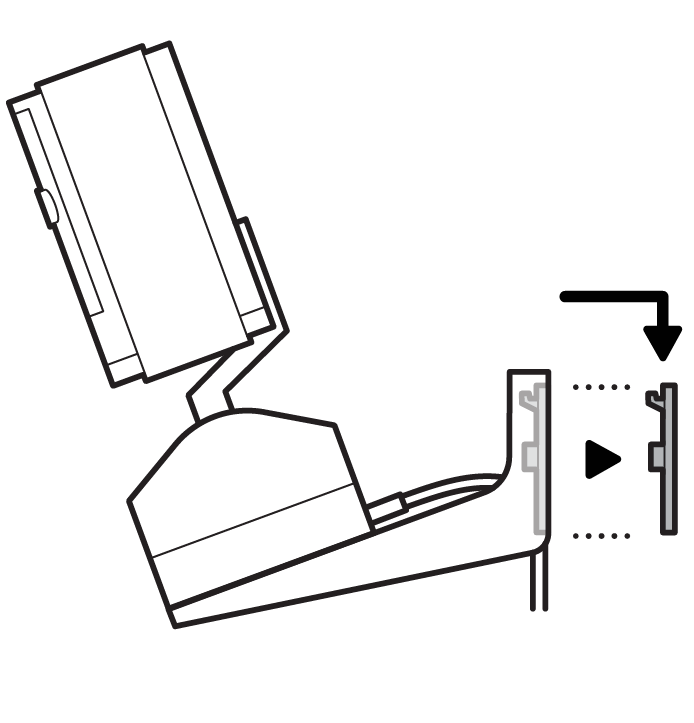
- Secure your camera and bracket to the mounting plate by sliding until you feel a click.


Ceiling installation
- Use the mounting plate as a guide to mark screw holes on the ceiling with 6.5 inches (16.5 cm) of space in every direction.
- Install the mounting plate with the UP arrow pointing opposite of your desired viewing direction.
On stucco, brick, or concrete, use a 3/16 inch (5 mm) masonry bit to drill holes for the included wall anchors.
- Secure your camera to the mounting plate by sliding until you feel a click.

- Plug in the power cable.

- Anchor the power cable to the wall or ceiling with the included cable clip.


Using the privacy cover.

Removing the privacy cover.

Attaching the privacy cover.

Last updated 1 week ago