Installing Access Controller Pro
We recommend professional installation for Ring Access Controller Pro to guarantee compliance with local electrical codes and wiring standards. Find a professional installer.
Tools needed:
- Flathead screwdriver
- Power drill (optional)
Step 1: Confirming kit contents
Before beginning, confirm the contents of your installation kit.
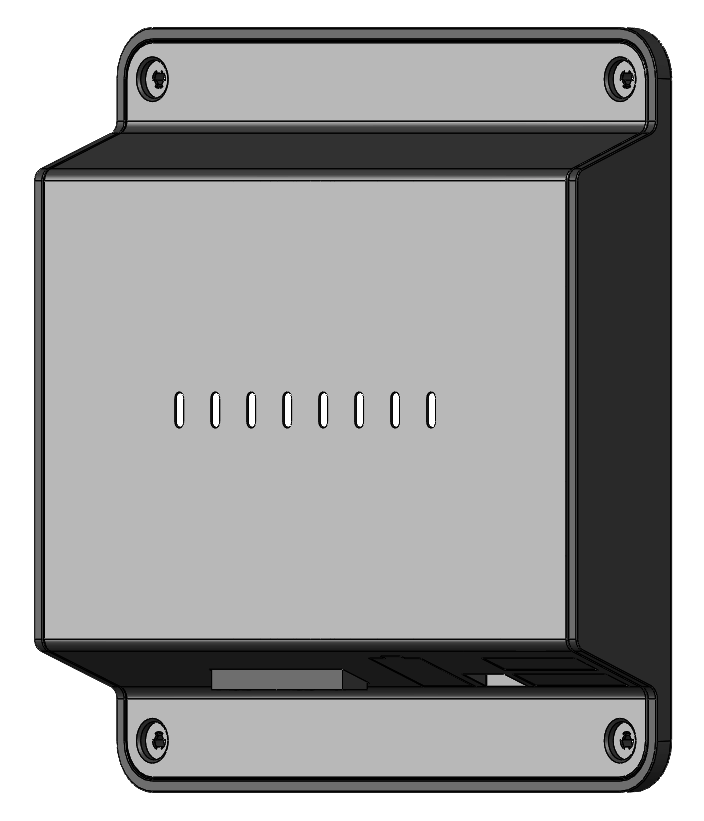
One Ring Access Controller Pro |  |
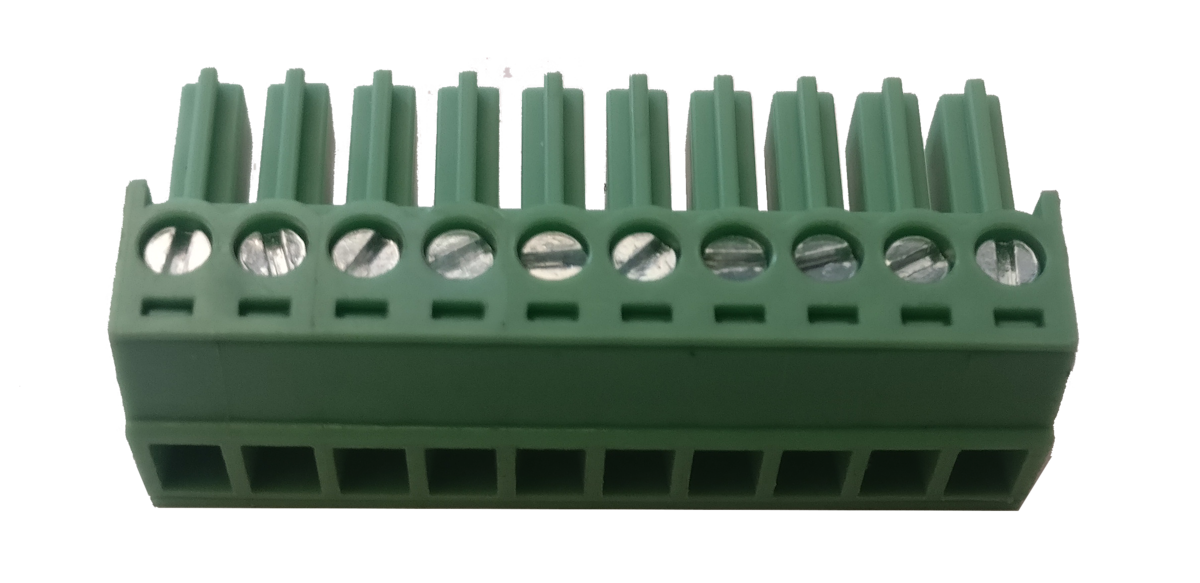
One 10-pin Screw-type Plug-in Connector |  |
One USB Power Supply |  |
One 10 ft (3 m) Micro USB Cable |  |
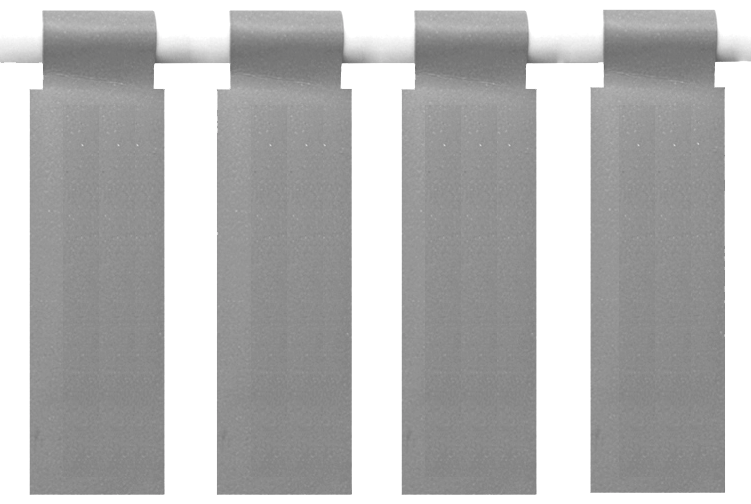
Four Cable Labels |  |
Step 2: Installing the wire

- Turn off the power at the source.
- Strip insulation to expose about 0.25 in (0.63 cm) of wire (18 - 22 AWG).
- Use a flathead screwdriver to release the screws on the 10-pin terminal connector so the wires can be inserted.
- Place each wire in desired opening.
- Tighten the screws to hold the wires in place. Then, tug on the wires to make sure they are secure.
- Connect to desired access control terminals on the existing system.
- Plug in the 10-pin connectors to their mating connector on the device.
- Use cable labels to identify wires appropriately.
Ethernet wire (if installing Access Controller Pro to Ethernet)
Once you have finished wiring and inserting the terminal connector, plug an Ethernet cable into a working port on your router, then connect it to the Access Controller Pro.

Power wire
Plug the included USB cable into the included USB power supply, and connect it to an outlet. Then, plug the USB cable into the Access Controller Pro.

Step 3: Understanding LED status lights
- PWR (Power): Solid light shows device has power
- CON (Connected): Flashing light shows internet connection
- RUN (Running): Flashing light shows normal operation
- REC (Recording): Solid light shows device is reading credentials
- DOORS 1-4: One-second solid light shows door opening

Step 4: Installing device recommendations
If installing Access Controller Pro Cellular, avoid mounting on a metal surface.
Installing with screws on wood or drywall
- Place the template where you want to install.
- Drill pilot holes (use anchors if needed).
- Insert mounting screws into device housing.
- Align device with pilot holes.
- Secure device with power drill.
- If you are using anchors, insert them into the wall.

Installing with 3M sticky tape or Velcro

Step 5: Setting up and activating Ring Access Controller Pro 2
Once your Access Controller Pro is installed, you will need to use the Ring app to setup the device, then call 1-888-255-1041 with the provided activation number.
